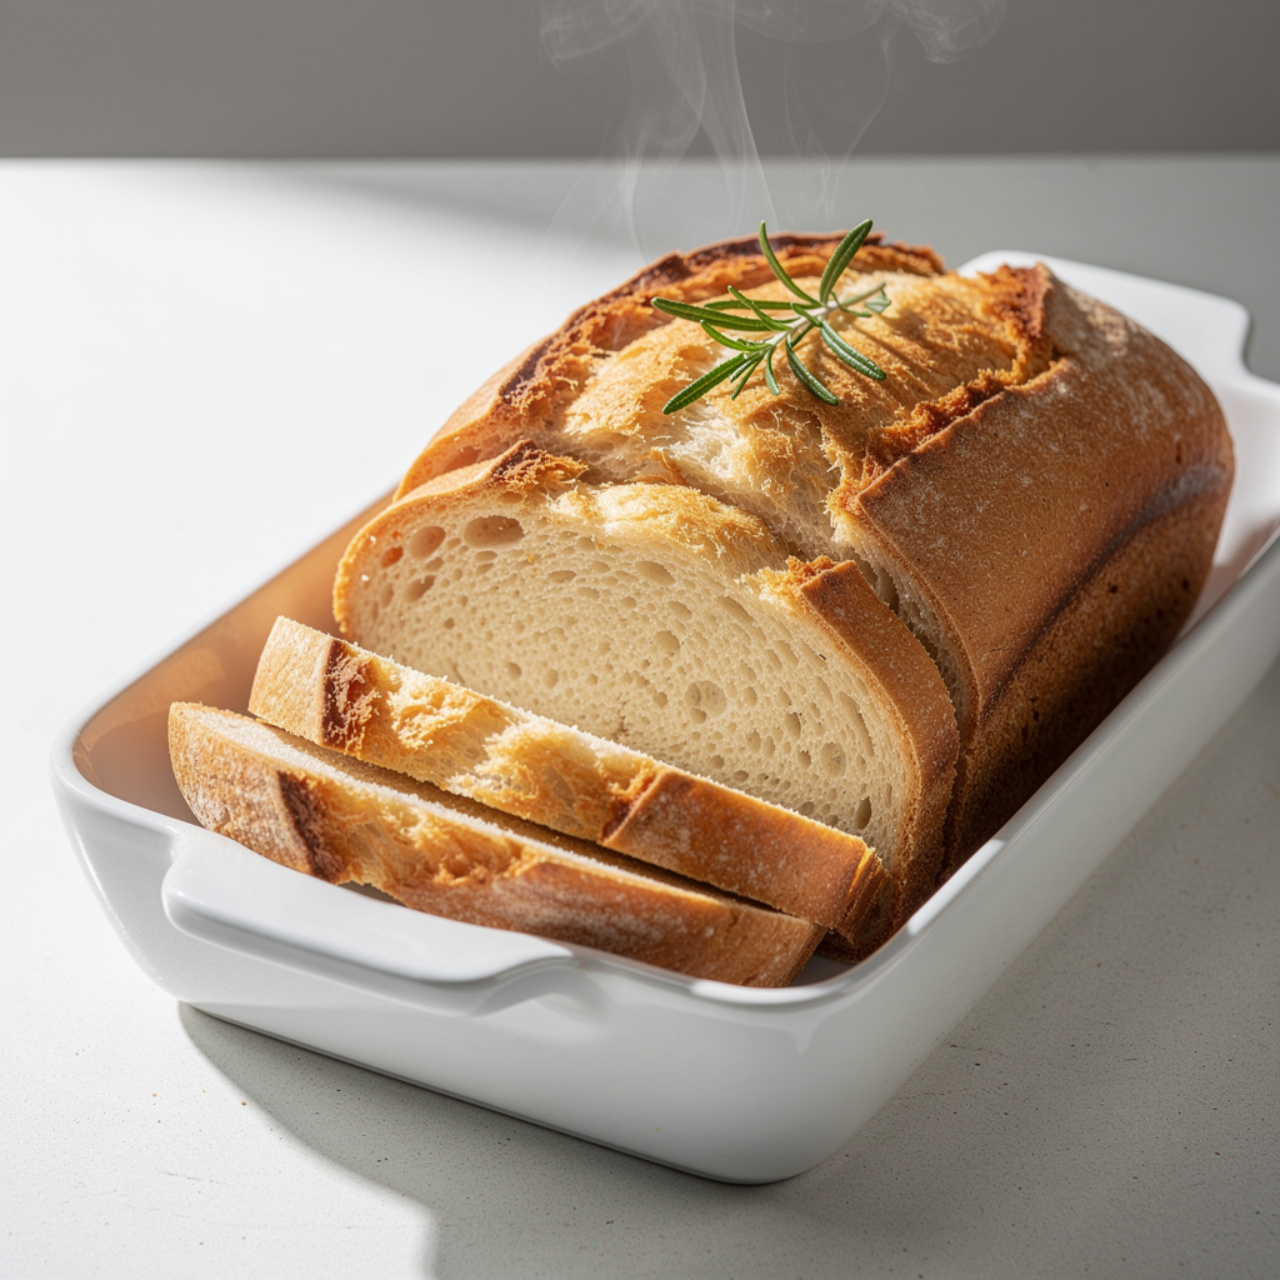
Amish White Bread Recipe (Soft, Fluffy Homemade Loaf)
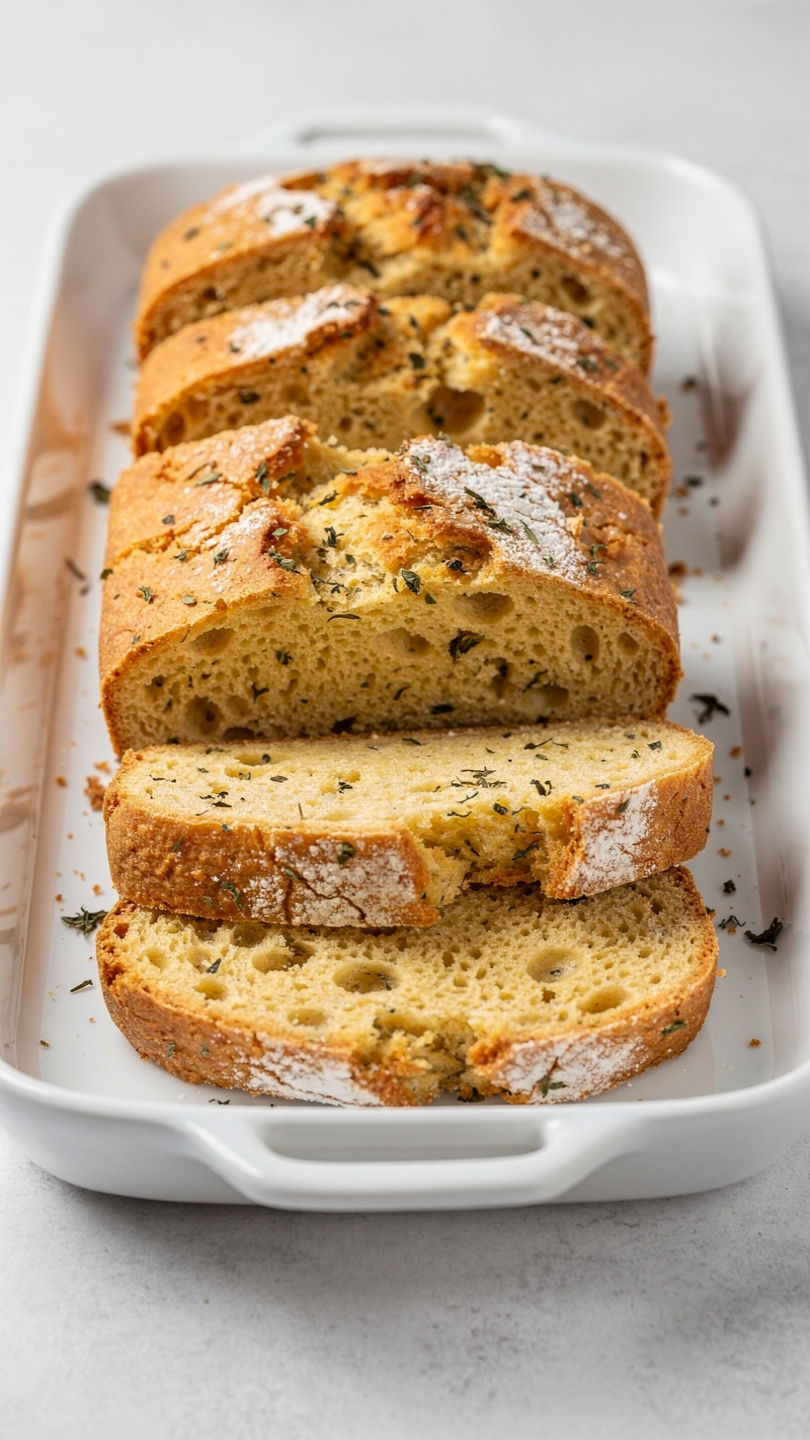
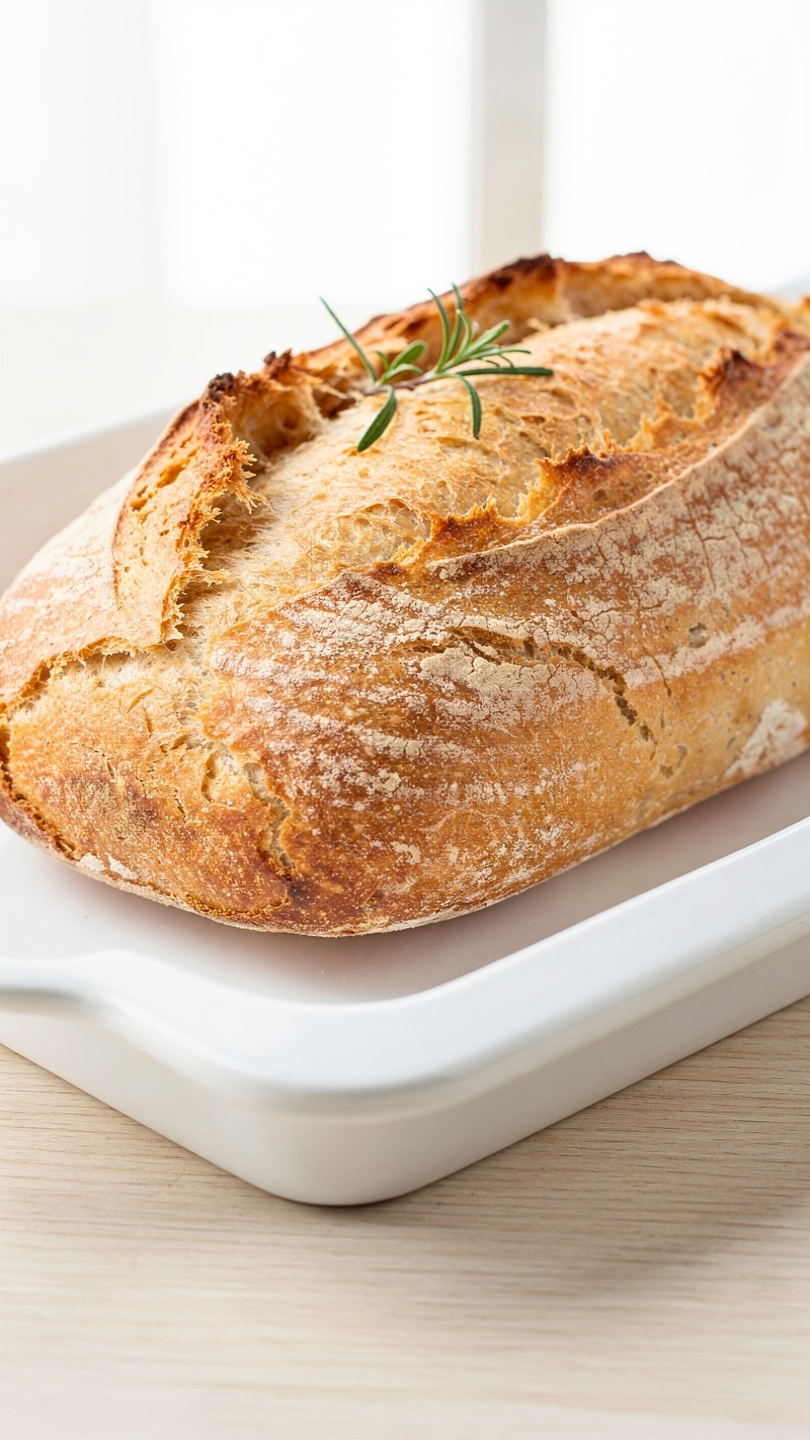
This Amish White Bread recipe produces a soft, pillowy homemade loaf with a tender crumb and golden crust. It's the best Amish bread recipe for beginners and seasoned bakers alike.

The Softest Homemade Loaf You Will Ever Pull From Your Oven
If you have ever bitten into a slice of truly great homemade white bread, soft and pillowy with just a hint of sweetness and a golden, buttery crust, there is a very good chance it was an Amish white bread recipe behind it. This is the bread that grandmothers baked every Friday morning without consulting a single written recipe. It is the bread that made entire neighborhoods smell like something worth slowing down for.
This Amish White Bread recipe is everything a homemade loaf should be: approachable for beginners, reliable enough for experienced bakers, and so delicious that the second loaf rarely makes it to day two. With just six pantry staple ingredients and a little patience during the rise, you will have two gorgeous loaves of Homemade Amish Bread ready to slice.
What Makes Amish Bread So Special
The secret is beautifully simple. Compared to a standard sandwich loaf, an Amish Yeast Bread uses a noticeably higher ratio of sugar. That extra sweetness does more than just taste good. It feeds the yeast for a strong, reliable rise, tenderizes the crumb by inhibiting gluten overdevelopment, and helps the crust caramelize to that deep, even golden brown you want.
The result is a loaf that is:
- Incredibly soft with a feather-light, tender crumb
- Mildly sweet, without crossing into dessert territory
- Long-lasting, staying fresh and soft at room temperature for up to four days
- Versatile, equally perfect for sandwiches, toast, or eating warm with a slab of butter
This is what separates a true Amish Loaf Bread from the ordinary. It is designed to be eaten and shared generously.
A Few Notes Before You Start Baking
Getting great bread is as much about technique as it is about ingredients. A few things that genuinely move the needle here:
Temperature matters. Your water needs to be warm, ideally between 105°F and 115°F. Too hot and you kill the yeast. Too cold and you never wake it up. An instant-read thermometer takes the guesswork completely out of the equation and is one of the most useful tools in any home baker's kitchen.
Measure your flour correctly. Scoop-and-pack flour is the number one reason dense, heavy homemade bread happens. Spoon the flour lightly into your measuring cup and level it off, or better yet, weigh it. Six cups of properly measured all-purpose flour comes in around 720 grams.
Do not rush the rise. Both rises are doing critical work. The first builds flavor and structure. The second gives your loaves their final, airy lift. A warm oven with the light on or a spot near a sunny window works perfectly.
Having the right tools on hand makes this Easy Amish Bread recipe so much more enjoyable to tackle.
How To Make Amish Bread: Step by Step
This Homemade Amish Bread comes together in a straightforward two-rise process. Here is what to expect at each stage:
Proofing the Yeast
This is your first checkpoint. Combine the warm water, yeast, and a pinch of the sugar and wait. Within 5 to 10 minutes, the mixture should look foamy and smell distinctly yeasty. If nothing happens, your yeast is the problem, not your technique. Start with a fresh packet.
Mixing and Kneading
Add your remaining ingredients and bring the dough together. Knead until it is smooth and elastic, about 8 to 10 minutes by hand or 6 to 8 minutes in a stand mixer. The dough should spring back slowly when you poke it and feel slightly tacky but not sticky.
Baker's Tip: When in doubt about whether you have kneaded enough, do the windowpane test. Stretch a small piece of dough thin between your fingers. If it stretches without tearing and you can see light through it, your gluten is well developed and you are ready to rise.
Shaping the Loaves
After the first rise, divide the dough into two equal pieces. Flatten each into a rectangle, roll it up tightly from one end, pinch the seam, and place it seam-side down into a greased loaf pan. This rolling method creates good surface tension and helps the loaf hold its shape during the final rise and bake.
Ready to make the Best Amish Bread Recipe you have ever tasted? Here is the complete recipe card:
Amish White Bread Recipe (Soft, Fluffy Homemade Loaf)
This Amish White Bread recipe produces a soft, pillowy homemade loaf with a tender crumb and golden crust. It's the best Amish bread recipe for beginners and seasoned bakers alike.
Ingredients
- 2 cups warm water, between 105-115°F (40-46°C)
- 1/8 oz active dry yeast, one standard packet (2.25 tsp)
- 5/8 cups granulated white sugar, divided; Amish bread is noticeably sweeter than standard white bread
- 1/4 cups vegetable oil, canola oil also works well
- 1 1/2 tsp fine salt
- 6 cups all-purpose flour, spooned and leveled; bread flour can be substituted for a chewier crumb
Instruction
In a large bowl or the bowl of a stand mixer, combine the warm water, yeast, and 1 tablespoon of the measured sugar. Stir gently and let sit for 5 to 10 minutes until the mixture is foamy and fragrant. If it does not foam, your yeast may be expired or your water too hot.
Add the remaining sugar, vegetable oil, and salt to the yeast mixture. Stir to combine.
Add the flour one cup at a time, mixing after each addition. Once a shaggy dough forms, turn it out onto a lightly floured surface and knead by hand for 8 to 10 minutes, or knead in a stand mixer fitted with a dough hook on medium speed for 6 to 8 minutes, until the dough is smooth, elastic, and slightly tacky but not sticky.
Shape the dough into a ball and place it in a lightly oiled bowl, turning once to coat. Cover with a clean kitchen towel or plastic wrap and let rise in a warm, draft-free spot for 1 hour or until doubled in size.
Punch the dough down firmly to release the gas. Divide it evenly into two equal portions.
Shape each portion into a tight loaf by flattening it into a rectangle roughly the width of your loaf pan, then rolling it up tightly from one short end. Pinch the seam closed and place each loaf seam-side down into a greased 9x5-inch loaf pan.
Cover the pans loosely and let the loaves rise again for 30 to 45 minutes until the dough crowns about 1 inch above the rim of the pans.
While the loaves are on their second rise, preheat your oven to 350°F (175°C).
Bake for 25 to 30 minutes until the tops are deep golden brown. The loaves are done when they sound hollow when tapped on the bottom or register an internal temperature of 190 to 200°F (88 to 93°C) on an instant-read thermometer.
Remove the loaves from the oven and let them cool in the pans for 5 minutes, then turn them out onto a wire rack. For a soft, shiny crust, brush the tops immediately with a pat of butter. Let cool for at least 20 minutes before slicing.
Equipment
- Large mixing bowl
- Stand mixer with dough hook (optional)
- Two 9x5-inch loaf pans
- Kitchen towel or plastic wrap
- Wire cooling rack
- Instant-read thermometer (recommended)
- Pastry brush
Notes
Serving, Storing, and Variations
Ways to Serve Amish White Bread
This Amish White Bread Recipe Homemade is genuinely one of the most versatile loaves you can have on your counter:
- Sliced thick and slathered with salted butter while still slightly warm from the oven
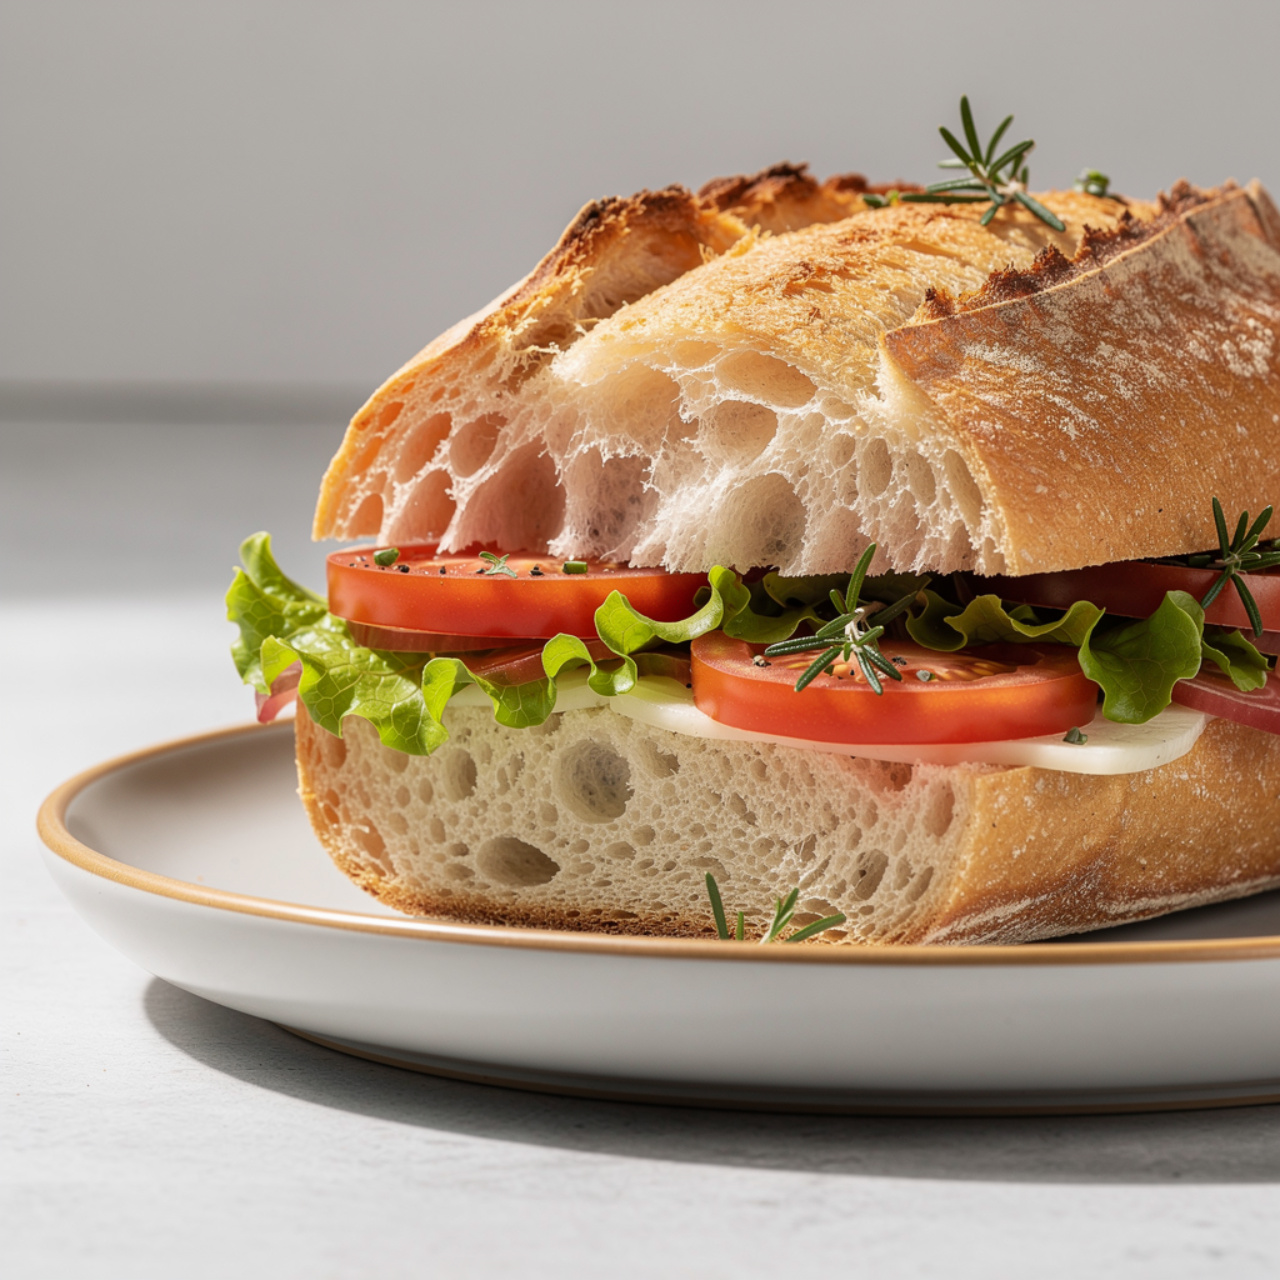
- Used as the base for the ultimate grilled cheese sandwich
- Toasted and topped with jam, honey, or avocado
- Cut into thick slices for French toast the next morning
- Served alongside soups, stews, or a big pot of chili
Storage Tips
Once completely cooled, wrap your loaves tightly in plastic wrap or store them in a sealed zip-top bag at room temperature. They stay wonderfully soft for up to four days. For longer storage, slice the loaves before freezing so you can pull out exactly what you need.
Easy Variations to Try
- Amish Honey Bread: Replace half the granulated sugar with honey for a more complex, floral sweetness.
- Herb Amish Loaf: Add 1 tablespoon of dried rosemary or Italian seasoning to the dough for a savory twist.
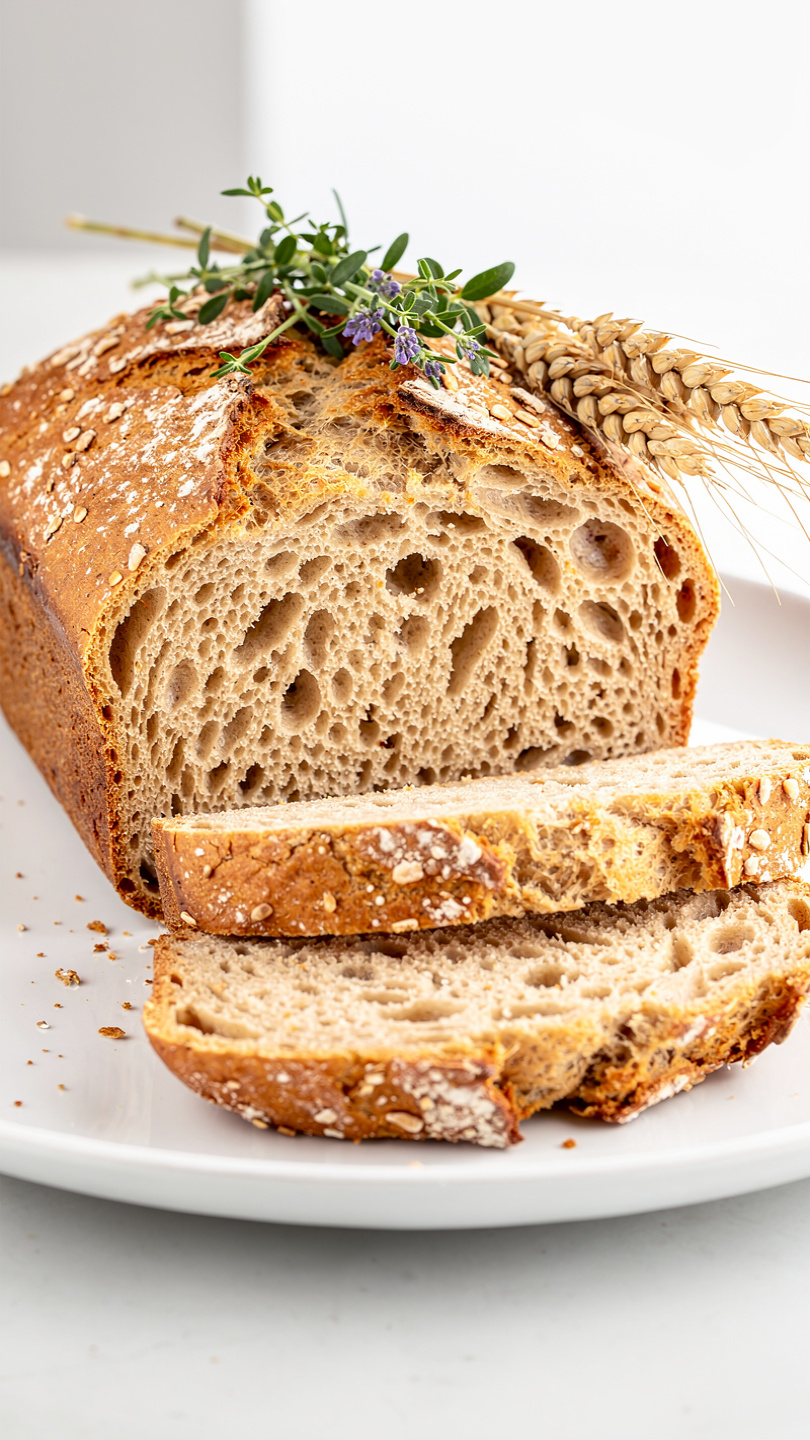
- Whole Wheat Version: Substitute up to 2 cups of the all-purpose flour with whole wheat flour. Expect a slightly denser crumb and a nuttier flavor.
Whether this is your first attempt at How To Make Amish Bread or you are returning to a recipe you have been baking for years, this loaf delivers every single time. It is the kind of recipe you will come back to again and again, and eventually bake entirely from memory.