Simple Sourdough Bread Recipe (Soft, Fluffy & Homemade)
This simple sourdough bread recipe delivers a soft, fluffy homemade sandwich loaf with that irresistible tangy flavor, perfect for everyday meals straight from your own kitchen.

The Homemade Sourdough Sandwich Bread You Will Actually Make Every Week
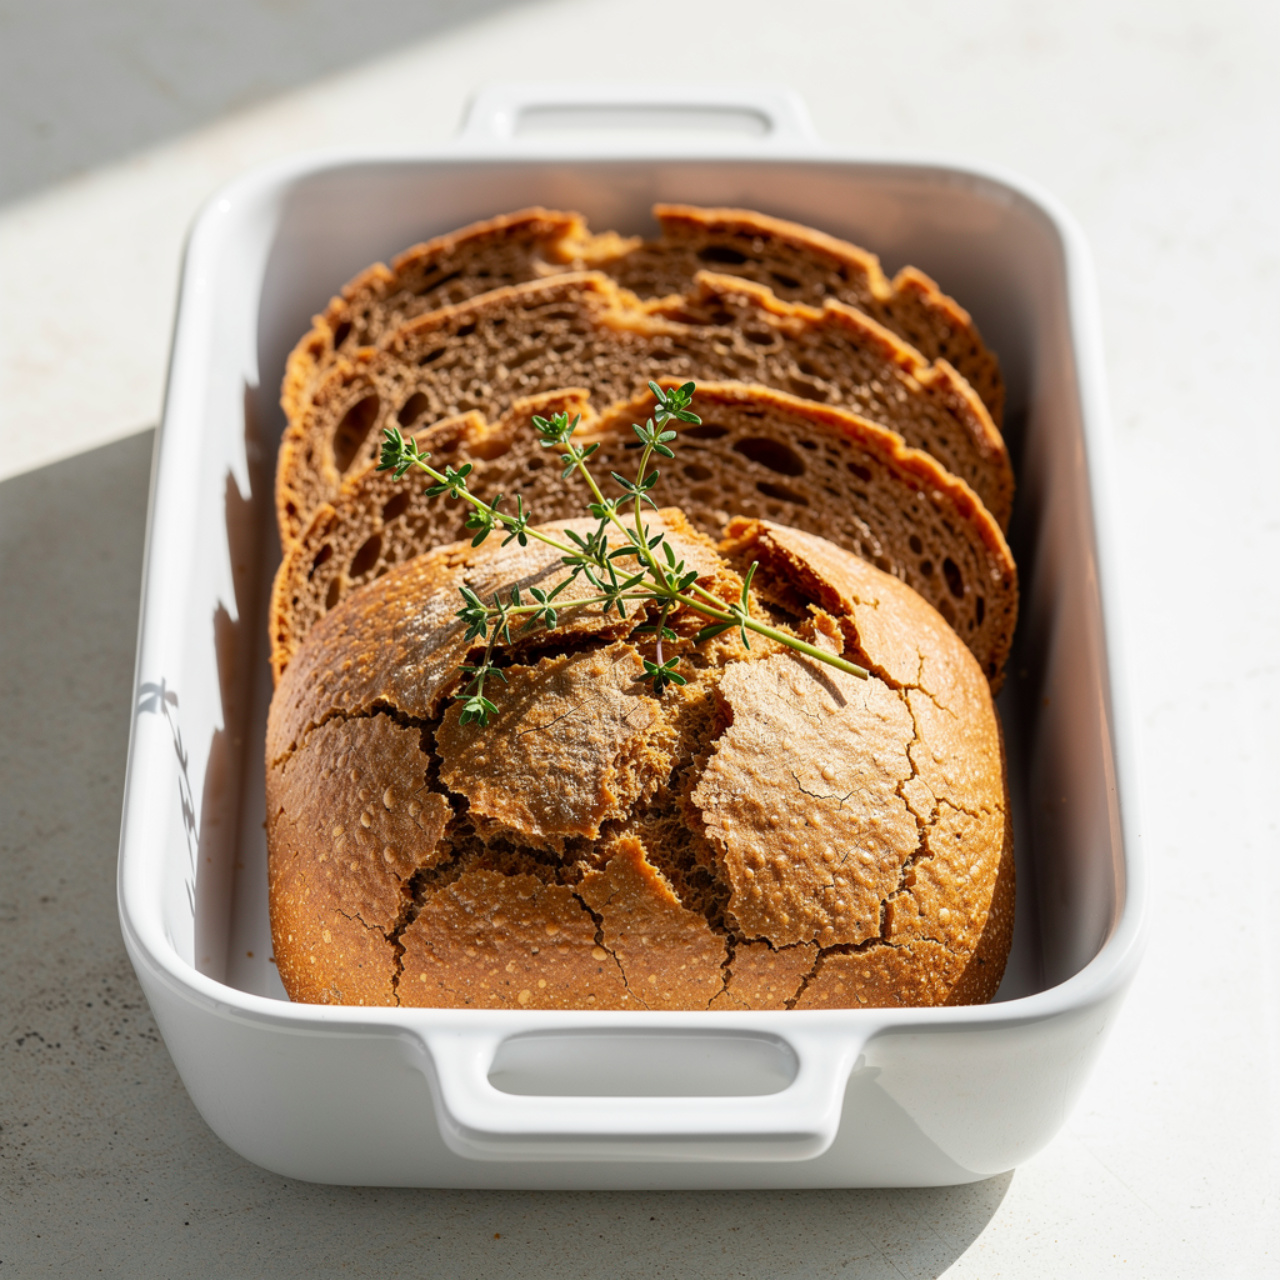
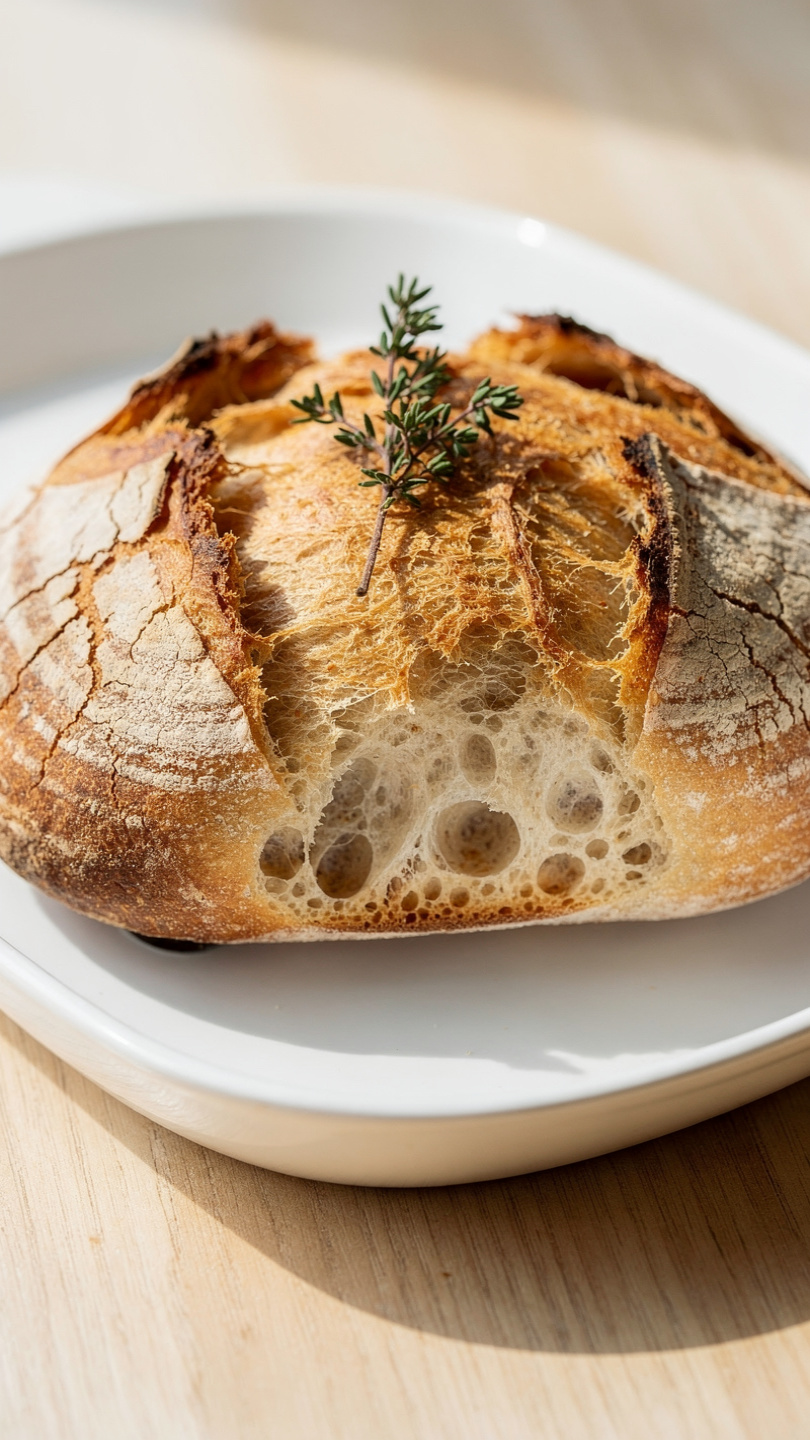
There is something deeply satisfying about pulling a golden, perfectly risen loaf of simple sourdough bread out of the oven and knowing you made it entirely from scratch. This is not the intimidating, crusty artisan loaf that requires a Dutch oven and a weekend of anxiety. This is soft, fluffy, farmhouse sourdough sandwich bread with a pillowy crumb, a gently tangy flavor, and a tender crust that makes it ideal for everything from avocado toast to the best grilled cheese of your life.
If you have ever searched for a recipe like Farmhouse On Boone Sourdough Sandwich Bread or a light fluffy sourdough sandwich bread that does not require professional baking experience, this is exactly what you have been looking for. It is approachable, forgiving, and so much better than anything from the grocery store.
Why This Recipe Works So Well
The secret to a truly soft sourdough sandwich bread is the enrichment. Unlike a traditional crusty sourdough, this loaf adds whole milk, butter, and a touch of honey to the dough. These ingredients do three important things:
- Milk adds tenderness to the crumb and helps the crust stay soft even after cooling.
- Butter gives the loaf richness and a subtle depth that plain water-based doughs just cannot match.
- Honey feeds the sourdough starter during fermentation and adds just a whisper of natural sweetness that balances the tang perfectly.
The result is a homemade sourdough sandwich bread that slices cleanly, holds up to spreads and fillings without falling apart, and stays soft for days.
Chef's Tip: The single most important factor for a fluffy crumb is using a bubbly, active starter at its peak. Feed your starter 4 to 6 hours before you plan to mix the dough, and wait until it has doubled in size and looks domed on top before using it.
What You Need to Bake It Right
Sourdough bread made from scratch rewards you when you use quality tools and ingredients. A reliable 9x5 inch loaf pan with good heat distribution makes a real difference in how evenly the loaf bakes and rises, and a digital instant-read thermometer takes all the guesswork out of knowing when it is done.
For flour, bread flour is highly recommended here over all-purpose because its higher protein content creates more gluten structure, which is what gives you that satisfying, slightly chewy crumb inside a soft sandwich loaf. That said, all-purpose flour works perfectly well if it is what you have.
Understanding the Sourdough Timeline
One question that comes up a lot with easy soft sandwich sourdough recipes is about timing. Here is a simple way to think about it:
The Bulk Ferment (8 to 12 Hours)
This is the long, slow rise where all the flavor develops. Most home bakers do this overnight at room temperature. Mix the dough in the evening, leave it covered on the counter, and wake up to a beautifully doubled dough ready to shape.
The Second Proof (2 to 4 Hours)
After shaping and placing the dough in the pan, you give it a shorter proof until it crowns above the rim. This is your visual cue that the loaf is ready to bake. Do not rush this step.
Pro Tip: If your kitchen runs cool (below 70 degrees F), proof the dough in a slightly warm oven. Just turn the oven on for 1 minute, then turn it off and place the covered pan inside. That gentle warmth is enough to keep fermentation moving at a good pace.
Tips for the Best Fluffy Sourdough Sandwich Bread
These small details make a big difference in your final loaf:
- Do not rush the bulk ferment. Flavor and texture both improve with time.
- Use a thermometer. Pull the loaf at an internal temperature of 190 to 200 degrees F for a fully baked, never gummy crumb.
- Brush with milk before baking for a soft, golden top crust instead of a crackly one.
- Cool completely before slicing. It is tempting, but cutting into a warm loaf compresses the crumb and makes it gummy. Wait at least one hour.
This sourdough bread made from scratch recipe is also a wonderful way to use a sourdough discard sandwich bread approach if your starter has been sitting in the fridge for a few days. Just make sure to refresh it before using it here for the best rise.
Ready to bake? Here is everything you need laid out step by step:
Simple Sourdough Bread Recipe (Soft, Fluffy & Homemade)
This simple sourdough bread recipe delivers a soft, fluffy homemade sandwich loaf with that irresistible tangy flavor, perfect for everyday meals straight from your own kitchen.
Ingredients
- 1/2 cup active sourdough starter, fed and bubbly, at peak activity
- 1 cup warm water, around 90 to 100 degrees F
- 1/2 cup whole milk, warmed slightly, adds softness to the crumb
- 2 tbsp honey, raw or local preferred
- 2 tbsp unsalted butter, softened to room temperature
- 3 1/2 cups bread flour, spooned and leveled, not packed
- 1 1/2 tsp fine sea salt
Instruction
In a large mixing bowl, combine the warm water, warm milk, honey, and active sourdough starter. Whisk together until the starter is fully dissolved and the mixture looks slightly frothy.
Add the bread flour and fine sea salt to the bowl. Mix with a wooden spoon or dough whisk until a shaggy dough forms and no dry flour remains.
Turn the dough out onto a lightly floured surface and knead by hand for 8 to 10 minutes, or use a stand mixer with the dough hook on medium speed for 6 to 8 minutes, until the dough is smooth, elastic, and slightly tacky but not sticky. Add the softened butter halfway through kneading and continue until fully incorporated.
Shape the dough into a ball and place it in a lightly greased bowl. Cover with plastic wrap or a damp kitchen towel and let it bulk ferment at room temperature (ideally 75 to 78 degrees F) for 8 to 12 hours, or overnight, until the dough has roughly doubled in size and looks airy and domed.
Punch down the risen dough gently and turn it out onto a lightly floured surface. Flatten it into a rough rectangle about as wide as your loaf pan. Roll it up tightly into a log shape, pinching the seam shut at the bottom.
Place the shaped loaf seam-side down into a greased 9x5 inch loaf pan. Cover loosely with greased plastic wrap and let it proof at room temperature for 2 to 4 hours, until the dough crowns about 1 inch above the rim of the pan.
About 30 minutes before baking, preheat your oven to 375 degrees F (190 degrees C).
Optional but recommended: brush the top of the loaf gently with a little milk or melted butter for a golden, soft crust.
Bake for 30 to 35 minutes, until the top is deep golden brown and the internal temperature reads 190 to 200 degrees F on an instant-read thermometer.
Remove the loaf from the oven and let it cool in the pan for 10 minutes, then turn it out onto a wire rack. Allow it to cool completely for at least 1 hour before slicing for the best texture and crumb.
Equipment
- Large mixing bowl
- Stand mixer with dough hook (optional)
- Dough whisk or wooden spoon
- 9x5 inch loaf pan
- Plastic wrap or damp kitchen towel
- Instant-read thermometer
- Wire cooling rack
- Pastry brush
Notes
Serving, Storing, and Variations
Once you have your gorgeous loaf cooled and sliced, the possibilities are genuinely endless. This farmhouse sourdough sandwich bread is wonderful as:
- Classic sandwiches with deli turkey, sharp cheddar, and whole grain mustard
- French toast the next morning using day-old slices
- Avocado toast with a squeeze of lemon and flaky salt
- Soup bowls alongside a creamy tomato or butternut squash soup
For storage, wrap the cooled loaf tightly and keep it at room temperature for up to 3 days. To extend its life, slice the whole loaf and freeze it. Pull slices straight from the freezer into the toaster whenever a craving hits.
This recipe is also wonderfully adaptable. Swap the honey for maple syrup for a slightly different sweetness, stir in everything bagel seasoning on top before baking, or add shredded rosemary and olive oil in place of the butter for an herby, Mediterranean-inspired version.
However you make it, this simple sourdough bread recipe is the kind of bake that becomes a weekly ritual once you start. There is nothing quite like the smell of homemade bread filling your kitchen on a quiet morning.