Homemade Sourdough Bread: Recipes, Tips, and Ideas for Every Baker
Discover the best homemade sourdough bread ideas, from classic loaves to creative sourdough starter discard recipes that will transform your baking routine.

Why Sourdough Bread Belongs in Your Kitchen (And How to Make It Your Own)
There is something quietly extraordinary about pulling a crackling, burnished sourdough loaf from the oven. The crust shatters when you press it. The inside reveals an open, glossy crumb that springs back under your fingertips. And underneath it all, that gentle, complex tang that no store-bought bread can replicate. Whether you are baking your very first homemade sourdough bread or you have been nurturing a sourdough starter for years, this guide meets you exactly where you are.
This post covers everything: a reliable sourdough bread recipe built for real home kitchens, smart ideas for your sourdough starter discard, creative variations like pull apart bread and flavored loaves, and the foundational knowledge that makes every bake better. Think of it as your sourdough headquarters.
What Makes Sourdough Different From Every Other Bread
Unlike breads leavened with commercial yeast, sourdough rises through wild fermentation. Your sourdough starter is a living ecosystem of wild yeast and lactic acid bacteria, fed on nothing more than flour and water. Over time, this culture develops a personality all its own, influenced by the flour you use, the temperature of your home, and even the local air.
This slow, natural fermentation does more than just lift the dough. It:
- Breaks down phytic acid, making nutrients more bioavailable
- Produces organic acids that give the bread its signature sour complexity
- Creates a longer shelf life compared to commercial yeast breads
- Develops gluten structures that produce that coveted open, chewy crumb
Pan de masa madre, the Spanish term for sourdough bread, has been a staple across cultures for thousands of years for exactly these reasons. Modern sourdough baking is really just a beautiful return to something ancient.
Your Sourdough Starter: The Heart of Every Recipe
Before anything else, you need an active, healthy sourdough starter. If you do not have one yet, a basic sourdough starter recipe requires only two ingredients: flour and water. Combine equal weights of whole wheat flour and warm water in a jar, stir vigorously, cover loosely, and feed daily for 5 to 7 days. You will know it is ready when it doubles reliably within 4 to 8 hours of feeding and smells pleasantly tangy, like yogurt or mild vinegar.
Already have a starter? Feed it 8 to 12 hours before baking so it hits peak activity right when you need it.
Baker's Note: The float test is your best friend. Drop a small spoonful of starter into a glass of water. If it floats, it is active and ready to leaven your dough. If it sinks, give it more time.
Smart Tools and Ingredients That Elevate Your Bake
Good sourdough does not require a professional bakery setup, but a few key tools genuinely change the results. A Dutch oven traps steam during the first phase of baking and is responsible for that dramatic oven spring and blistered crust. A banneton proofing basket shapes the dough and wicks away moisture for cleaner scoring. And a sharp lame makes the difference between a confident, ear-raising score and a torn crust.
Creative Sourdough Ideas Beyond the Basic Loaf
Once you have the base recipe down, the possibilities open up fast. Here are some of the most rewarding directions to take your sourdough baking:
Sourdough Pull Apart Bread
Pull apart bread made with sourdough is one of the most crowd-pleasing things you can bake. Divide your shaped dough into small balls, nestle them together in a buttered cast iron skillet or loaf pan, and top with garlic butter, shredded cheese, or fresh herbs before the final proof. The result is a tear-and-share centerpiece that disappears within minutes.
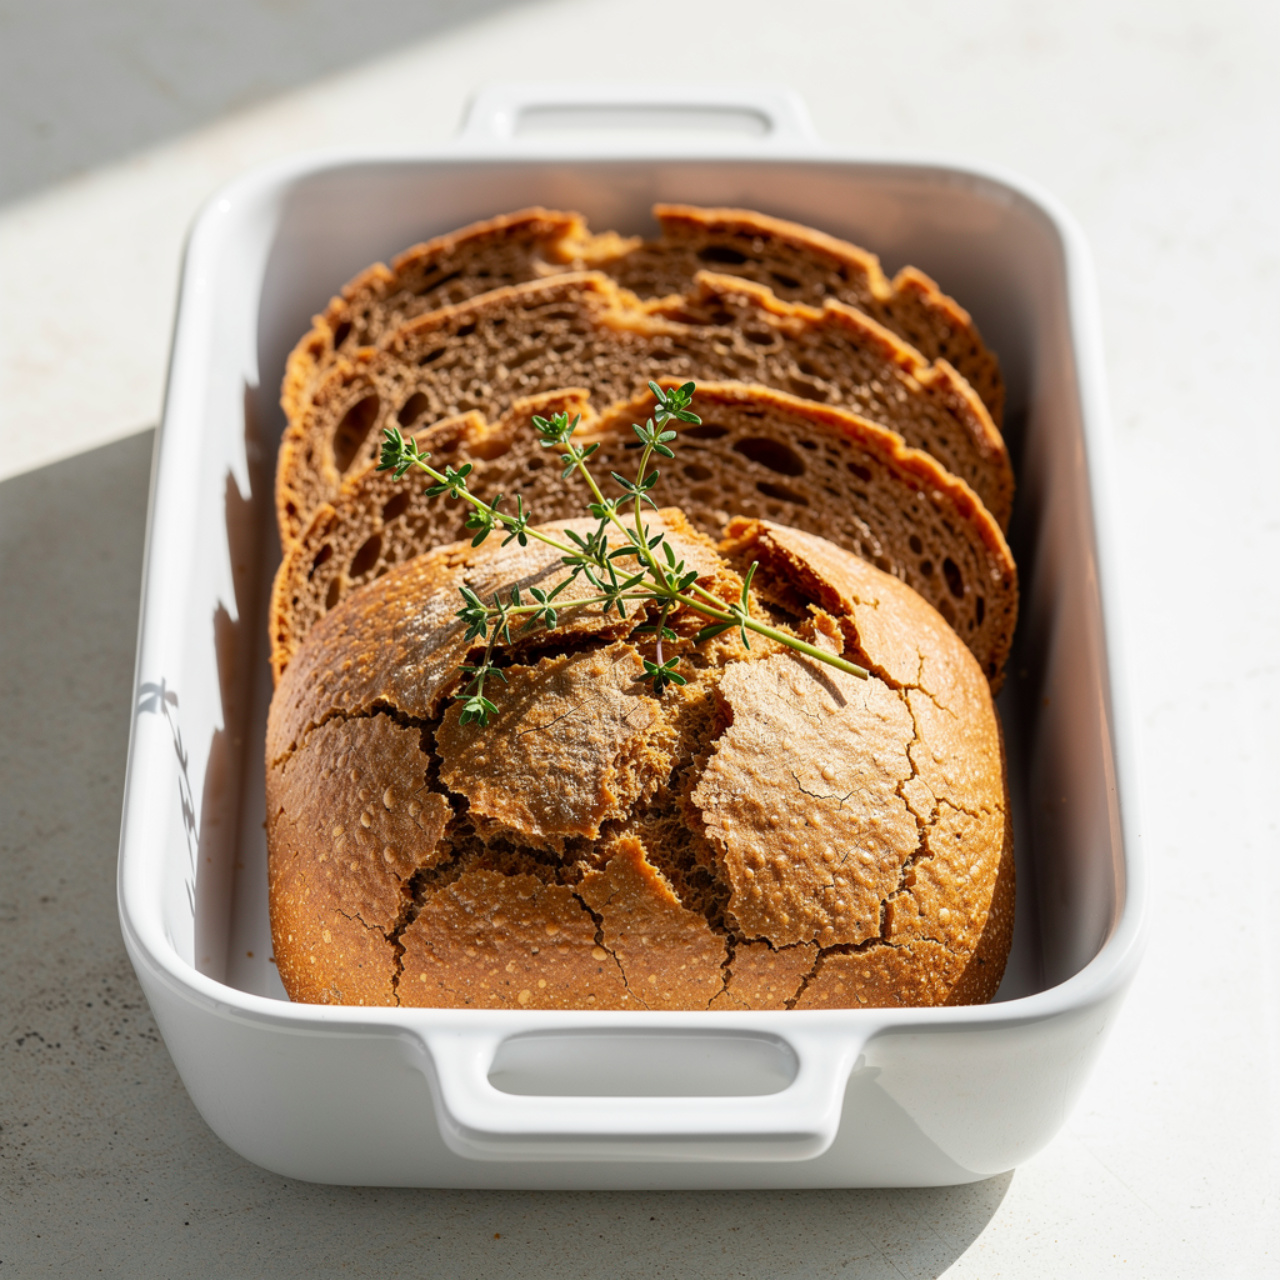
Sourdough Starter Discard Recipes
Do not pour your discard down the drain. A good sourdough starter discard recipe turns what would be waste into something genuinely delicious. Discard adds a mild tang and tenderness to:
- Sourdough pancakes with crispy edges and a fluffy interior
- Crackers brushed with olive oil and sea salt
- Banana bread with a subtle depth of flavor
- Pizza dough that blisters beautifully in a hot oven
- Waffles with a light chew and golden exterior
Because discard lacks the full leavening power of active starter, pair it with baking soda or baking powder in these starters recipes for the best lift.
Flavored and Add-In Loaves
The base sourdough dough is endlessly adaptable. During the final stretch and fold, layer in inclusions like:
- Toasted walnuts and dried cranberries for a festive, slightly sweet loaf
- Roasted garlic and rosemary for a savory bread that pairs with soup and pasta
- Cheddar and jalapeño for a loaf with heat and melt
- Everything bagel seasoning pressed into the crust before baking
Chef's Tip: Add inclusions during the second or third stretch and fold, not at the beginning. This protects gluten development and distributes the add-ins more evenly throughout the crumb.
Understanding the Sourdough Timeline
One of the biggest mental shifts for new sourdough bakers is accepting that this bread works on its own schedule, not yours. Here is a realistic overview:
- Feed starter: 8 to 12 hours before mixing
- Mix and autolyse: 30 minutes
- Bulk fermentation with stretch and folds: 4 to 6 hours
- Shape and cold proof: overnight (8 to 16 hours)
- Bake: about 45 minutes
The good news is that most of this time is completely hands-off. The cold overnight proof is especially useful because it fits baking into a normal life. Mix on Saturday afternoon, bake Sunday morning.
Ready to bake your best loaf yet? Here is the full step-by-step recipe:
Homemade Sourdough Bread: Recipes, Tips, and Ideas for Every Baker
Discover the best homemade sourdough bread ideas, from classic loaves to creative sourdough starter discard recipes that will transform your baking routine.
Ingredients
- 1 cup active sourdough starter, fed and bubbly, at peak activity
- 3 1/2 cups bread flour, plus more for dusting
- 1/2 cup whole wheat flour, adds depth and nutrition
- 1 1/4 cups warm water, around 75 to 80 degrees F
- 1 1/2 tsp fine sea salt, do not skip, essential for flavor
- 1 tbsp olive oil, optional, for a softer crust
Instruction
In a large bowl, combine the warm water and active sourdough starter. Stir until the starter is fully dissolved and the mixture looks milky and slightly frothy.
Add the bread flour and whole wheat flour to the bowl. Mix with your hands or a sturdy wooden spoon until no dry flour remains and a shaggy dough forms. Cover and let rest for 30 minutes. This step is called autolyse and it builds gluten without kneading.
Sprinkle the sea salt over the dough and use wet hands to work it in completely, folding and squeezing until fully incorporated.
Perform four sets of stretch and folds over the next 2 hours, spaced 30 minutes apart. For each set, grab one side of the dough, stretch it upward, and fold it over the center. Rotate the bowl 90 degrees and repeat four times per set.
After the final fold, cover the bowl tightly and allow the dough to bulk ferment at room temperature for 4 to 6 hours, or until it has grown by about 50 percent and looks airy with bubbles visible on the surface. Timing will vary based on the temperature of your kitchen.
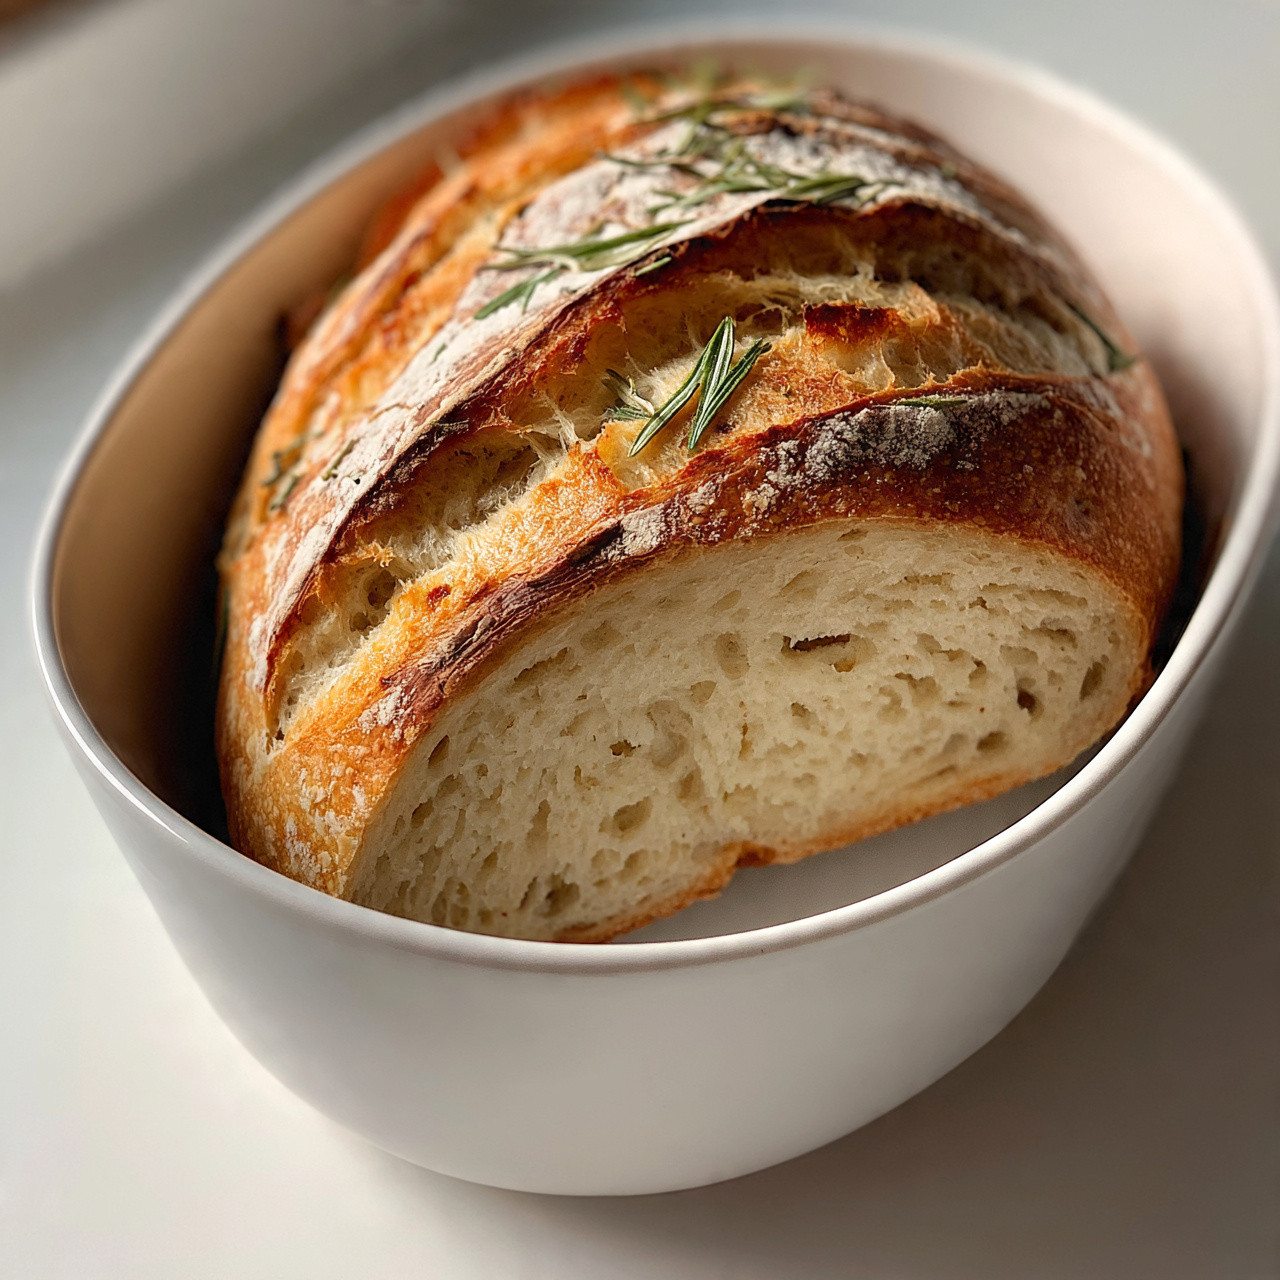
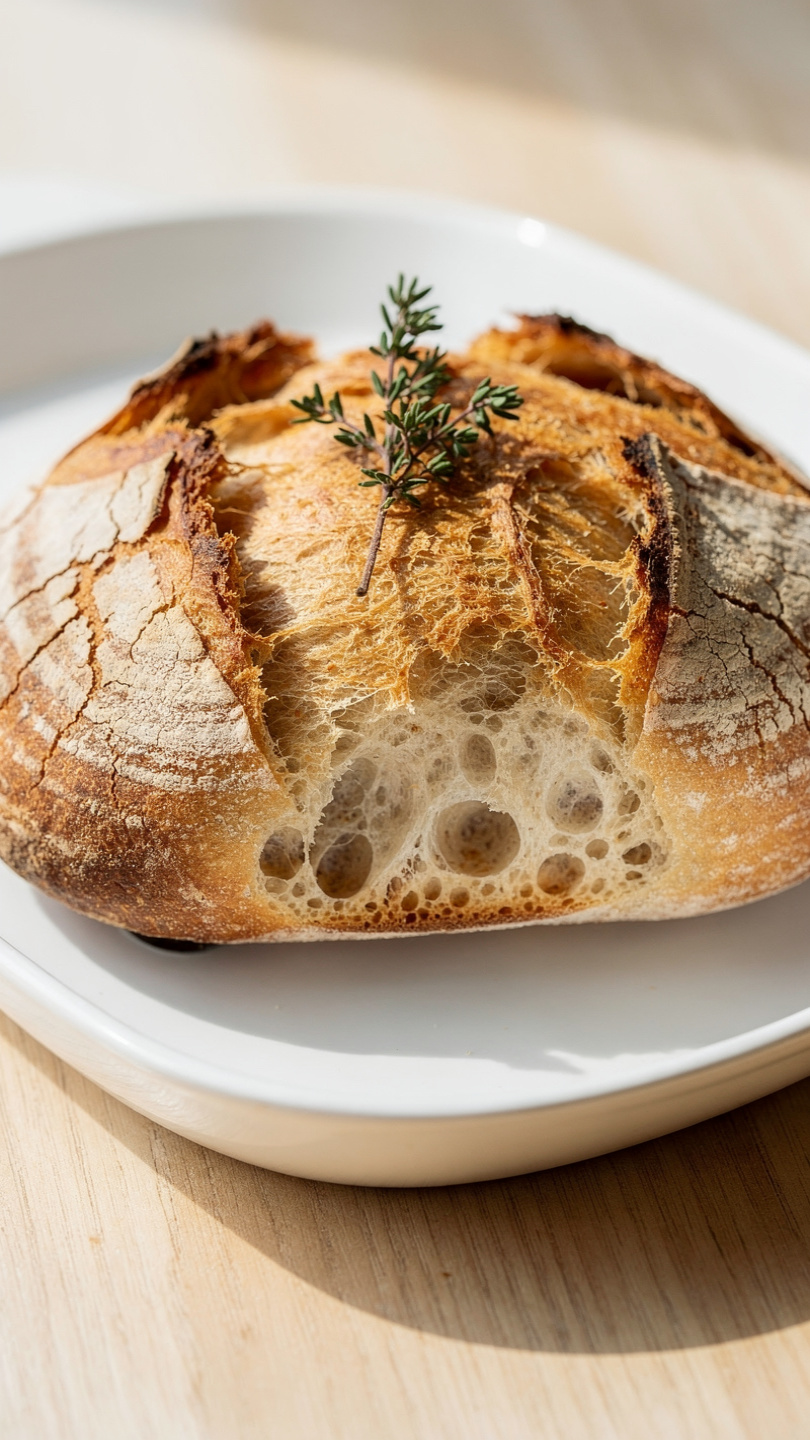
Turn the dough gently onto a lightly floured surface. Shape it into a round boule or an oval batard by folding the edges toward the center, flipping it seam-side down, and using cupped hands to create surface tension.
Place the shaped dough seam-side up into a well-floured proofing basket or a bowl lined with a floured kitchen towel. Cover tightly with plastic wrap or a shower cap and refrigerate overnight, or for 8 to 16 hours.
When ready to bake, place a Dutch oven with its lid in the oven and preheat to 500 degrees F (260 degrees C) for at least 45 minutes.
Cut a large piece of parchment paper and place it over the proofing basket. Flip the dough onto the parchment so it lands seam-side down. Score the top quickly and confidently with a sharp lame or razor blade at a 30 to 45 degree angle.
Carefully lower the dough on the parchment into the blazing hot Dutch oven. Cover with the lid and bake for 20 minutes. Remove the lid and reduce the oven temperature to 450 degrees F (230 degrees C). Bake for an additional 20 to 25 minutes until the crust is a deep mahogany brown.
Remove the bread from the Dutch oven and transfer it to a wire rack. Resist the urge to slice it immediately. Allow it to cool for at least 1 hour before cutting so the interior crumb can fully set.
Equipment
- Large mixing bowl
- Dutch oven (5 to 7 quart)
- Banneton proofing basket or bowl with kitchen towel
- Bench scraper
- Bread lame or sharp razor blade
- Parchment paper
- Wire cooling rack
- Kitchen scale (recommended)
- Instant-read thermometer
Notes
Serving and Storing Your Homemade Sourdough
Freshly baked sourdough deserves a simple, respectful presentation. Slice it with a serrated bread knife using long, gentle strokes rather than a sawing motion. Serve warm with good butter, flaky salt, and nothing else. Or use it as the foundation for:
- Avocado toast on thick, toasted slices
- Open-faced bruschetta with tomatoes and basil
- Grilled cheese that achieves a crunch no other bread can match
- French onion soup croutons that hold their shape under bubbling cheese
To store, rest the loaf cut-side down on a wooden board under a clean kitchen towel. Avoid plastic bags, which trap moisture and soften the crust. For longer storage, slice the whole loaf and freeze the slices, then toast directly from frozen whenever you need a piece.
The more you bake sourdough, the more intuitive it becomes. Each loaf teaches you something. Trust the process, stay curious, and enjoy every slice.