Sourdough Rye Bread Recipe (Tangy, Chewy, and Full of Flavor)
This sourdough rye bread recipe delivers a deeply tangy, chewy loaf with a crackly crust using a simple rye sourdough starter. Perfect for sandwiches, toast, or slicing alongside a hearty soup.

The Sourdough Rye Bread You Will Keep Making Forever
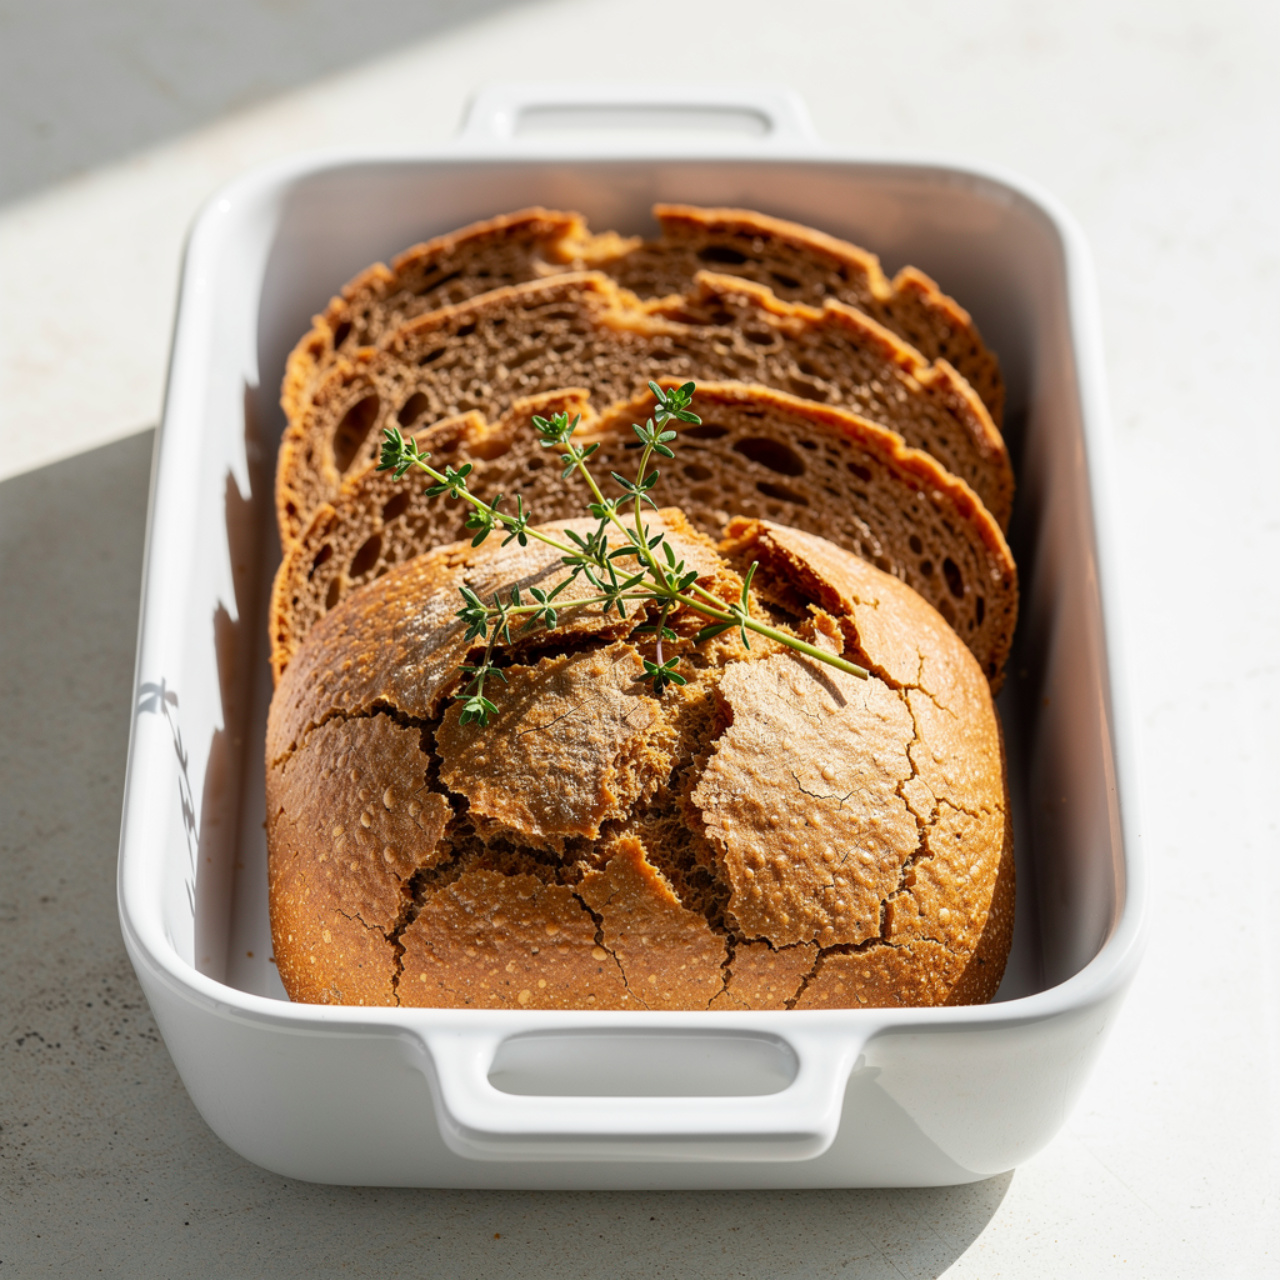
There is something deeply satisfying about pulling a dark, fragrant loaf of rye sourdough bread out of the oven. The crust shatters when you tap it. The crumb is tight and chewy, with just enough open structure to hold a thick smear of butter. And the flavor, that earthy, tangy, slightly sweet depth, is unlike anything you will find at a grocery store.
This rye sourdough bread recipe is the real deal. It uses a live rye sourdough starter, a long cold retard for flavor, and a Dutch oven bake for a professional crust. Whether you are new to sourdough or you have been baking for years, this recipe will become a staple.
Why This Rye Sourdough Recipe Works
Rye sourdough has been baked across Northern and Eastern Europe for centuries, and there is a good reason it never went out of style. Rye flour ferments beautifully with a wild starter, developing complex acids that give the bread its characteristic tang. Combined with caraway seeds and a touch of molasses, the result is a loaf that tastes bold, earthy, and completely alive.
What makes this particular rye sourdough recipe stand out:
- A blend of rye and bread flour keeps the loaf from becoming too dense while preserving that deep rye flavor.
- Cold overnight proofing develops the sour notes slowly and makes the baking schedule easy to manage.
- A preheated Dutch oven creates the steam burst that opens the score and crisps the crust to perfection.
- No kneading required. Stretch and folds do all the work for you.
Building Your Rye Sourdough Starter
If you already maintain a wheat-based starter, converting it to a rye starter recipe is as simple as feeding it with dark rye flour for two or three cycles. Rye flour is incredibly active and will turbocharge your starter almost immediately. You will notice it rises faster, smells more pungent, and doubles with enthusiasm.
For this recipe, your starter needs to be at peak activity, meaning it has doubled in size, is domed on top, and smells pleasantly sour and yeasty. If you poke it and it springs back slowly, it is ready. Feed it the night before or early the same morning you plan to mix the dough.
Chef's Tip: Drop a small spoonful of starter into a glass of water. If it floats, it is ready to bake with. If it sinks, give it another hour.
Having the right tools genuinely changes the outcome here. A good Dutch oven retains heat evenly for that professional crust, and a quality bench scraper makes shaping sticky rye dough so much easier.
What to Expect from Rye Dough
First-time rye bakers are often surprised by how sticky and dense the dough is compared to a white sourdough. This is completely normal. Rye flour has far less gluten than wheat flour, and it absorbs water in a different way. The dough will not become smooth and elastic no matter how long you work it.
The key is to trust the process:
- Wet your hands before every stretch and fold
- Use a well-floured banneton so the dough releases cleanly
- Do not add extra flour to compensate for stickiness
- Score decisively and quickly with a sharp lame
The reward for your patience is a loaf with incredible chew, a crackling crust, and a flavor that deepens beautifully over the first 24 hours after baking.
Tips for the Best Sourdough Rye Bread
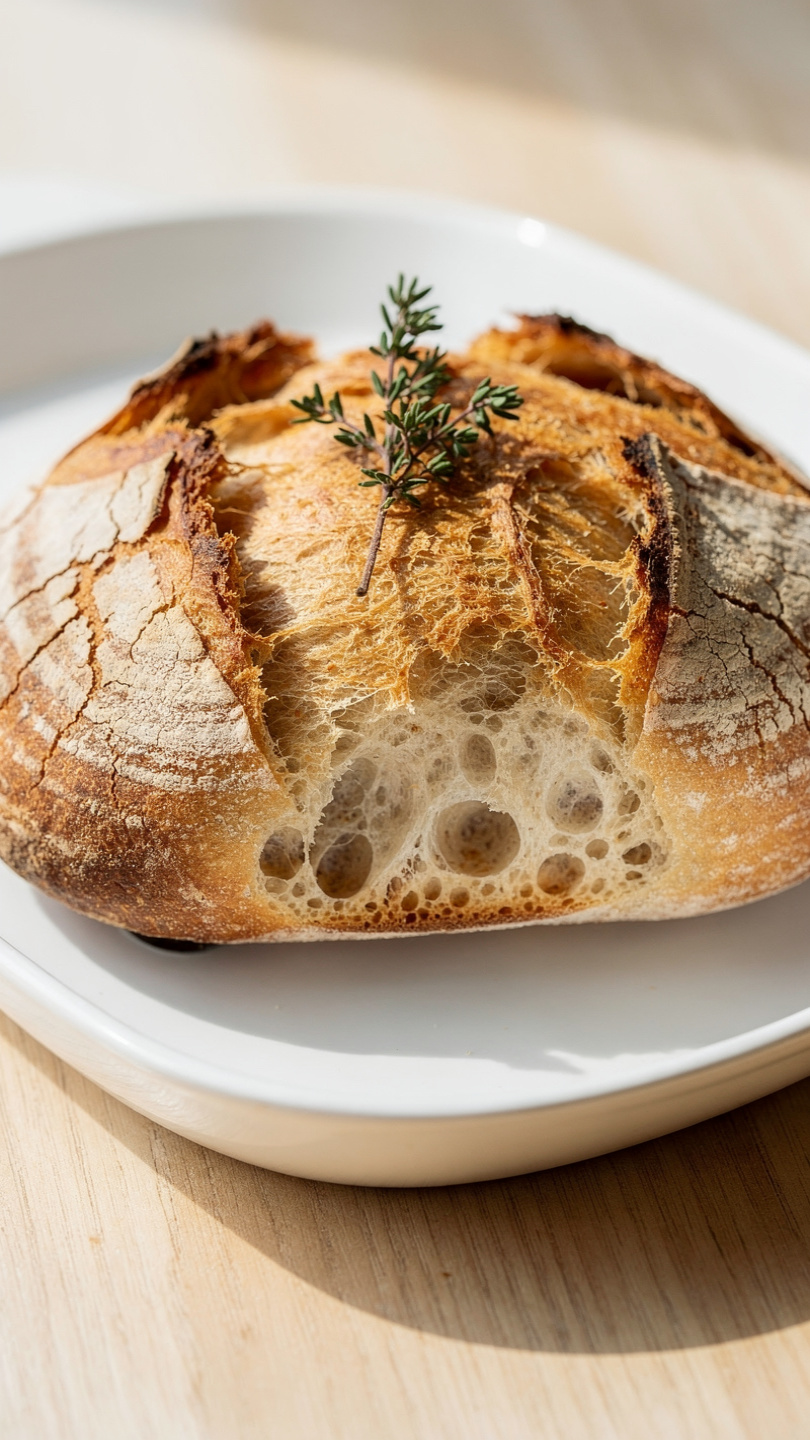
Use dark rye flour for the boldest flavor. Light rye produces a milder loaf that is pleasant but lacks the character of a true rye sourdough bread recipe.
Do not skip the cooling time. Rye bread is different from wheat bread in that it continues to cook and set as it cools. Slice it too early and the crumb will be gummy and wet. Wait at least one full hour, and ideally two.
Day two is even better. The flavor mellows and deepens overnight, making leftover slices genuinely better than the first cut. Toast a thick slice the next morning with salted butter and you will understand why this bread has been baked across Europe for generations.
Ready to bake your own loaf? Here is everything you need:
Sourdough Rye Bread Recipe (Tangy, Chewy, and Full of Flavor)
This sourdough rye bread recipe delivers a deeply tangy, chewy loaf with a crackly crust using a simple rye sourdough starter. Perfect for sandwiches, toast, or slicing alongside a hearty soup.
Ingredients
- 1 cup active rye sourdough starter, fed and bubbly, at peak activity
- 2 cups dark rye flour, whole grain preferred
- 1 1/2 cups bread flour, plus more for dusting
- 1 1/4 cups warm water, around 80 degrees F
- 1 1/2 tsp fine sea salt
- 1 tbsp caraway seeds, optional but highly recommended
- 1 tbsp honey or molasses, molasses adds deeper color and flavor
Instruction
Feed your rye sourdough starter 6 to 12 hours before baking. It should be bubbly, domed, and smell pleasantly sour when ready to use.
In a large mixing bowl, whisk together the dark rye flour and bread flour. Add the salt and caraway seeds and stir to combine.
In a separate bowl, mix the active starter, warm water, and honey or molasses until well blended.
Pour the wet ingredients into the dry ingredients and mix with a wooden spoon or your hands until a shaggy, sticky dough comes together. Rye dough is much stickier than wheat dough, so do not be alarmed.
Cover the bowl with a damp towel or plastic wrap and let the dough rest at room temperature for 30 minutes. This is the autolyse phase.
Perform 3 to 4 sets of stretch and folds over the next 2 hours, spaced 30 minutes apart. Wet your hands before each set to prevent sticking.
After the folds, cover the dough and allow it to bulk ferment at room temperature (70 to 75 degrees F) for 4 to 6 hours, until it has grown by about 50 percent and looks airy.
Lightly flour a work surface with bread flour. Turn the dough out and shape it gently into a round or oval loaf. The dough will be tacky but manageable.
Place the shaped loaf seam-side up into a well-floured banneton or a bowl lined with a floured kitchen towel. Dust the exposed surface with rye flour.
Cover and refrigerate the dough overnight, or for 8 to 16 hours. This cold retard deepens the sour flavor.
When ready to bake, place a Dutch oven with its lid into the oven and preheat to 500 degrees F (260 degrees C) for at least 45 minutes.
Carefully remove the hot Dutch oven. Turn the cold dough directly into the pot seam-side down. Score the top with a sharp lame or razor blade in one or two swift strokes.
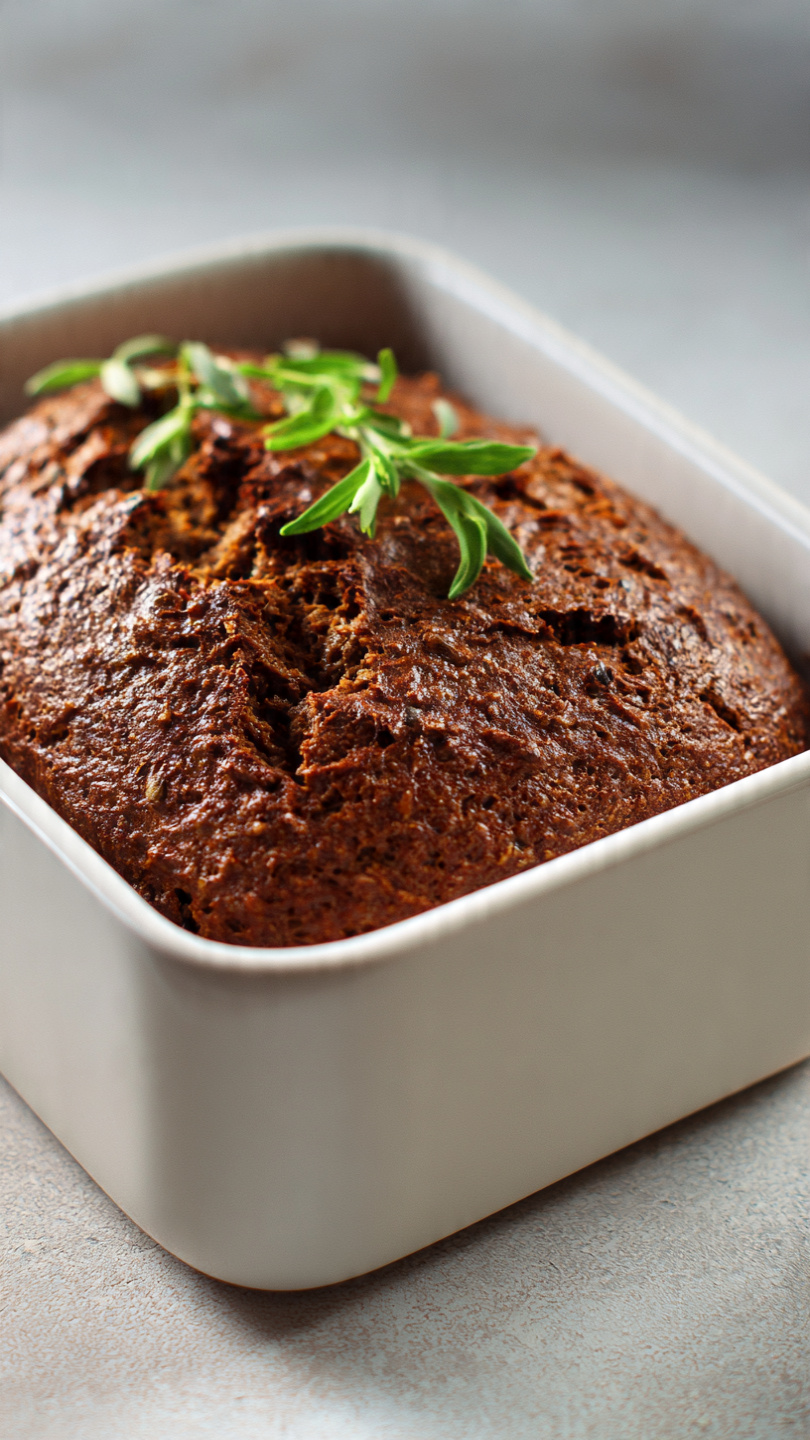
Cover with the lid and bake for 20 minutes. Then remove the lid and reduce the oven temperature to 450 degrees F (230 degrees C). Bake for an additional 20 to 25 minutes until the crust is deep mahogany brown.
Remove the loaf and let it cool on a wire rack for at least 1 hour before slicing. Cutting too early causes the crumb to gum up.
Equipment
- Large mixing bowl
- Wooden spoon or Danish dough whisk
- Banneton proofing basket or bowl with kitchen towel
- Dutch oven with lid
- Bench scraper
- Lame or sharp razor blade
- Wire cooling rack
- Kitchen scale (strongly recommended)
Notes
Serving and Storing Your Rye Sourdough
This bread is endlessly versatile. Serve it thickly sliced alongside a bowl of borscht or lentil soup. Layer it with smoked salmon, cream cheese, and thin cucumber for an open-faced sandwich. Toast it and top it with avocado and a fried egg for a breakfast that will actually keep you full.
For storage, wrap the fully cooled loaf in a paper bag or beeswax wrap and keep it at room temperature for up to three days. Slice and freeze any bread you will not finish within that window. Frozen slices go straight into the toaster and come out tasting remarkably fresh.
This is one of those recipes you will make once, share with someone, and then find yourself making every single week.