Sourdough Bread Starter: How to Make Your Own from Scratch
Learn how to make a sourdough bread starter from scratch with just flour and water. This foolproof homemade starter is the foundation for every beautiful, tangy loaf you will ever bake.

The Living Kitchen Project That Will Change How You Bake
There is something deeply satisfying about making sourdough bread starter from scratch. Before you ever slice into a warm, crackling loaf, you have already done something remarkable: you have coaxed wild yeast out of thin air, flour, and water. This homemade starter is not just an ingredient. It is a living culture you raise, feed, and pass on.
If you have been searching for how to make sourdough starter, how to start a sour dough starter, or even a how-to-make-sourdough-starter guide you can actually follow without a culinary degree, you are in exactly the right place. This guide breaks down the entire 7-day process in plain, practical language so that even a complete beginner can grow a strong, active starter.
Having the right setup genuinely makes a difference when you are cultivating a sourdough bread starter. A kitchen scale, a wide-mouth glass jar, and good unbleached flour are small investments that pay off in a healthier, more predictable starter every single time.
What Is a Sourdough Starter, Really?
A sourdough starter (also called a levain or a bread starter) is a fermented mixture of flour and water that captures wild yeast and beneficial bacteria from your environment. Those microorganisms eat the sugars in the flour, producing carbon dioxide (which makes your bread rise) and lactic and acetic acids (which give sourdough its characteristic tang).
Unlike commercial yeast, which is a single strain selected for speed and predictability, a homemade starter is a whole ecosystem. It is your ecosystem, shaped by the air in your kitchen, the flour you feed it, and the rhythm of your routine. That is why sourdough bread made with a young starter tastes different from bread made with a five-year-old one.
Why Make Your Own Instead of Buying One?
You can buy a dehydrated sourdough starter online, and there is nothing wrong with that. But making your own from scratch is genuinely rewarding, costs almost nothing, and gives you a starter that is perfectly adapted to your local environment.
Here is what you actually need to get started:
- Flour: Whole wheat for Day 1 (the bran feeds fermentation faster), then unbleached all-purpose for ongoing feedings
- Water: Lukewarm and ideally filtered, since chlorine in tap water can slow fermentation
- A jar: At least one quart capacity so it has room to rise
- Time: About 5 to 10 minutes of active work per day for 7 days
Chef's Tip: Temperature is one of the biggest variables in starter development. Aim for 70 to 75 degrees F (21 to 24 degrees C) in your kitchen. If your home runs cool, try placing the jar in your oven with just the oven light on. That gentle warmth can make a huge difference, especially in the early days.
Understanding the 7-Day Process
Making a sourdough starter is not complicated, but it does require consistency. Think of each feeding as a conversation with your starter. You give it fresh flour and water, it gives you bubbles and rise.
The first two days can look deceivingly quiet. Do not panic if nothing seems to be happening. The microbial community is establishing itself, and early activity is often subtle.
Days three and four are where things get exciting. You will start to see real bubbles, and the smell will shift from plain flour to something tangier and more alive. Some starters go through a phase where they smell quite sharp or even unpleasant. This is normal. It means the wrong bacteria are being outcompeted by the right ones.
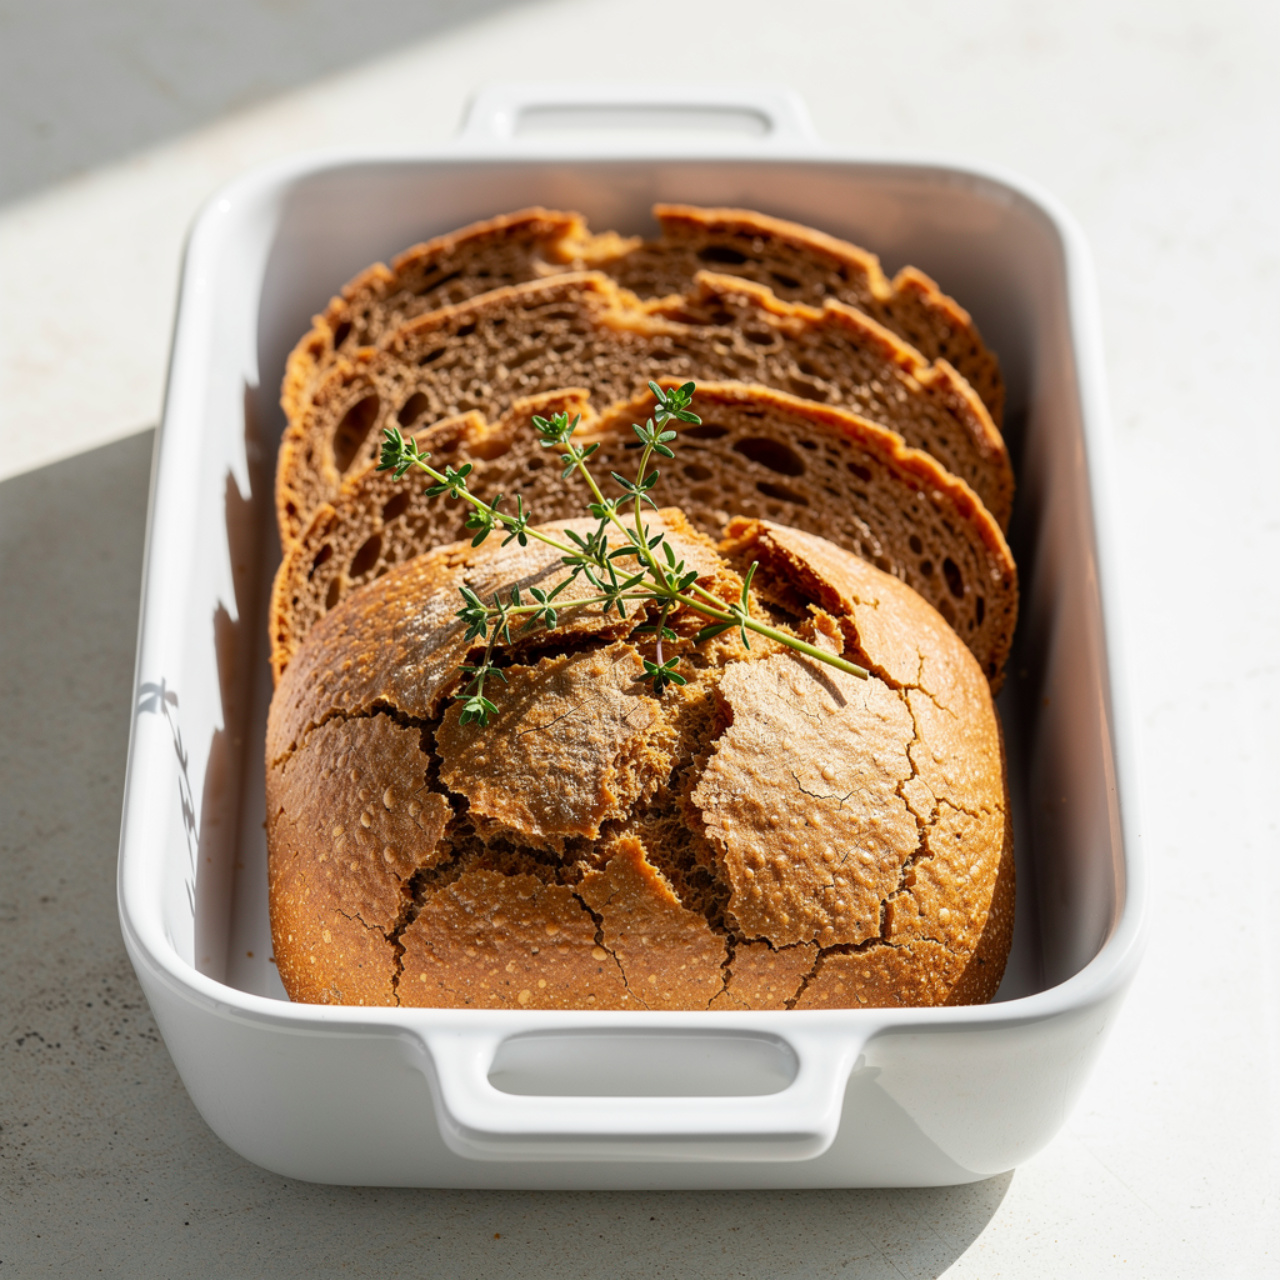
Days five through seven bring a consistent, predictable rise and fall cycle after each feeding. By the end of Day 7, you should have a starter that is reliably active, smells pleasantly sour and yeasty, and is ready to make its first loaf of bread.
Important: The discard you remove during daily feedings is not waste. Save it in a separate jar in the fridge and use it for pancakes, crackers, flatbreads, or waffles. Sourdough discard adds flavor and a slight tang to almost any baked good.
Tips for a Young Starter vs. a Mature One
Knowing how to make sourdough starter young (meaning one that is only a week old) versus working with a mature, established starter changes how you bake with it.
- A young starter (1 to 3 weeks old) will produce a milder flavor and a slightly less dramatic rise. Your bread will still be delicious, just a bit less complex.
- A mature starter (several weeks to months old) has a more stable microbial balance, a stronger rise, and a deeper, more nuanced sour flavor.
For your first loaf, a 7-day-old starter is absolutely sufficient. The flavor will develop more richness with every passing week.
Ready to grow your own culture? Here is everything you need to know, laid out step by step:
Sourdough Bread Starter: How to Make Your Own from Scratch
Learn how to make a sourdough bread starter from scratch with just flour and water. This foolproof homemade starter is the foundation for every beautiful, tangy loaf you will ever bake.
Ingredients
- 1/4 cup whole wheat flour, for Day 1 only; helps kickstart fermentation
- 1/4 cup all-purpose flour, unbleached preferred; used for all subsequent feedings
- 1/4 cup lukewarm water, filtered or room-temperature tap water; avoid chlorinated water if possible
Instruction
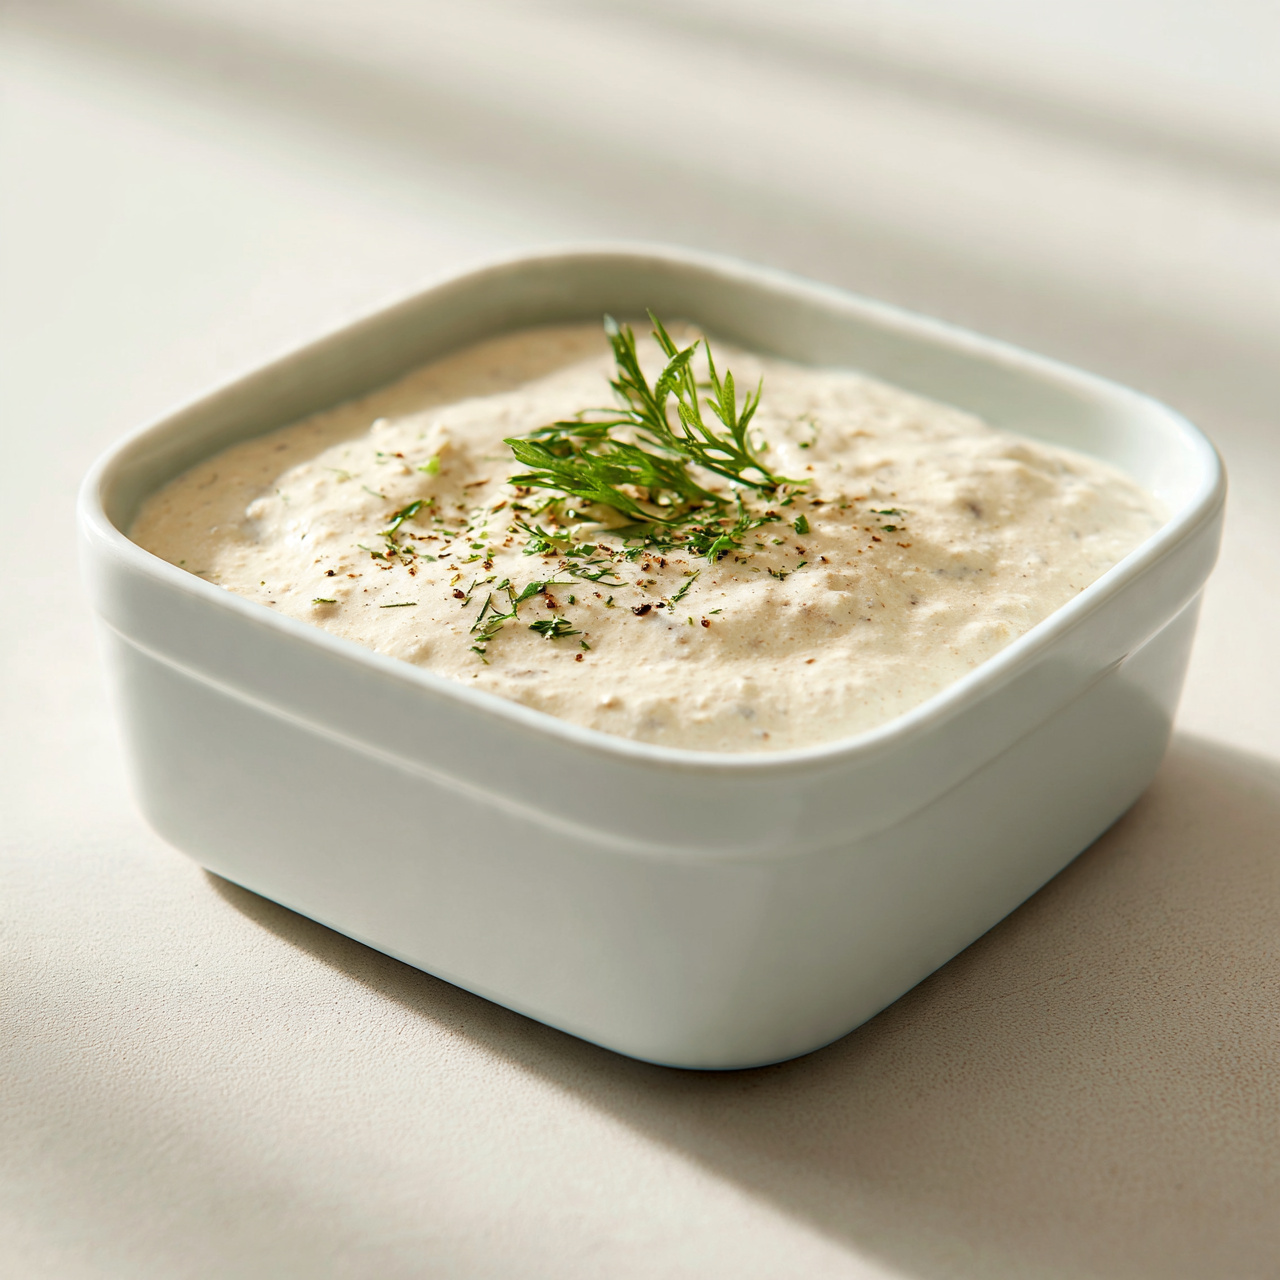
Day 1: In a clean glass jar or container, combine 1/4 cup (30g) whole wheat flour and 1/4 cup (60ml) lukewarm water. Stir vigorously until no dry flour remains and the mixture resembles a thick, smooth paste. Loosely cover the jar with a lid, cloth, or plastic wrap and leave it at room temperature (ideally 70 to 75 degrees F / 21 to 24 degrees C) for 24 hours.
Day 2: Check for small bubbles on the surface or sides of the jar. This is a good sign that wild yeast is waking up. Discard half of the starter (about half the jar), then feed it with 1/4 cup (30g) all-purpose flour and 1/4 cup (60ml) lukewarm water. Stir well, cover loosely, and rest for another 24 hours.
Days 3 and 4: Repeat the same process: discard half, then feed with 1/4 cup flour and 1/4 cup water. By Day 3 or 4, you should notice more consistent bubbling and a slightly tangy, yogurt-like aroma. If it smells like acetone or cheese, that is normal at this stage.
Days 5 and 6: Continue discarding half and feeding once daily. The starter should now be visibly more active, doubling in size a few hours after each feeding and developing a pleasant sour smell. Bubbles will appear throughout the mixture, not just on the surface.
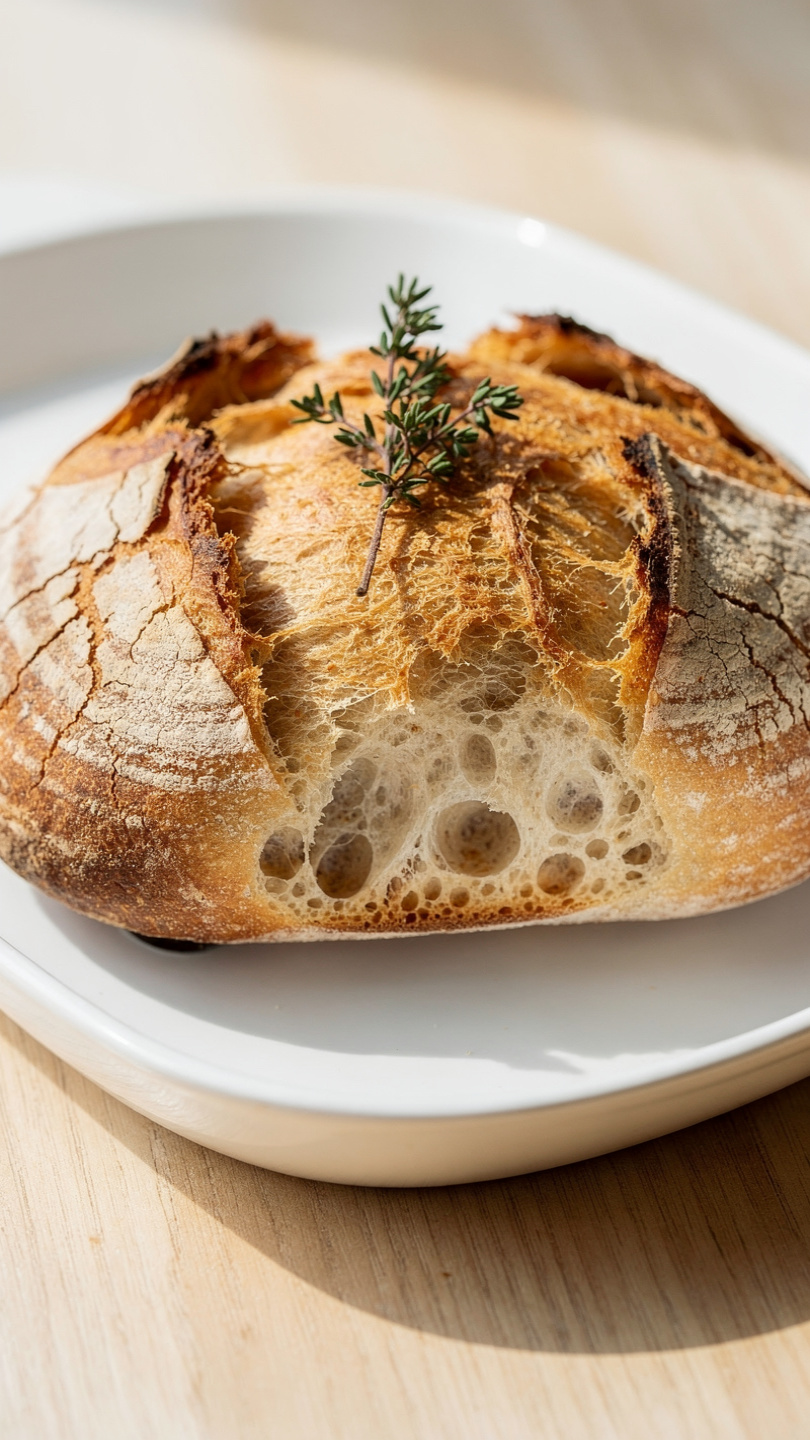
Day 7 (Readiness Test): Feed your starter as usual and mark the jar with a rubber band at the starting level. If the starter doubles in size within 4 to 8 hours, passes the float test (drop a small spoonful into water and it floats), and smells pleasantly sour and yeasty, it is ready to use for baking sourdough bread.
Ongoing Maintenance: If baking regularly (every few days), keep the starter at room temperature and feed it once daily. If baking less often, store it in the refrigerator and feed it once a week. Always bring it back to room temperature and feed it at least once before using it in a recipe.
Equipment
- Glass jar or container (at least 1 quart / 1 liter capacity)
- Kitchen scale (recommended for accuracy)
- Rubber band or tape (for tracking rise)
- Wooden spoon or silicone spatula
- Loose lid, cloth, or plastic wrap
Notes
How to Store and Maintain Your Starter Long-Term
Once your starter is active, keeping it healthy is simple.
If you bake frequently (every 2 to 3 days): Keep the starter at room temperature and feed it once a day. Discard half before each feeding.
If you bake occasionally: Store the starter in the refrigerator and feed it once a week. Take it out the evening before you want to bake, feed it, and let it peak at room temperature overnight.
Reviving a neglected starter: If your starter has been in the fridge for several weeks without feeding, do not throw it out. Pour off the liquid on top (or stir it in), discard all but a tablespoon, and feed it twice a day for two to three days at room temperature. It will come back.
A well-loved sourdough bread starter is one of the most resilient things in your kitchen. Feed it, bake with it, share it with friends, and it will reward you with years of incredible bread.