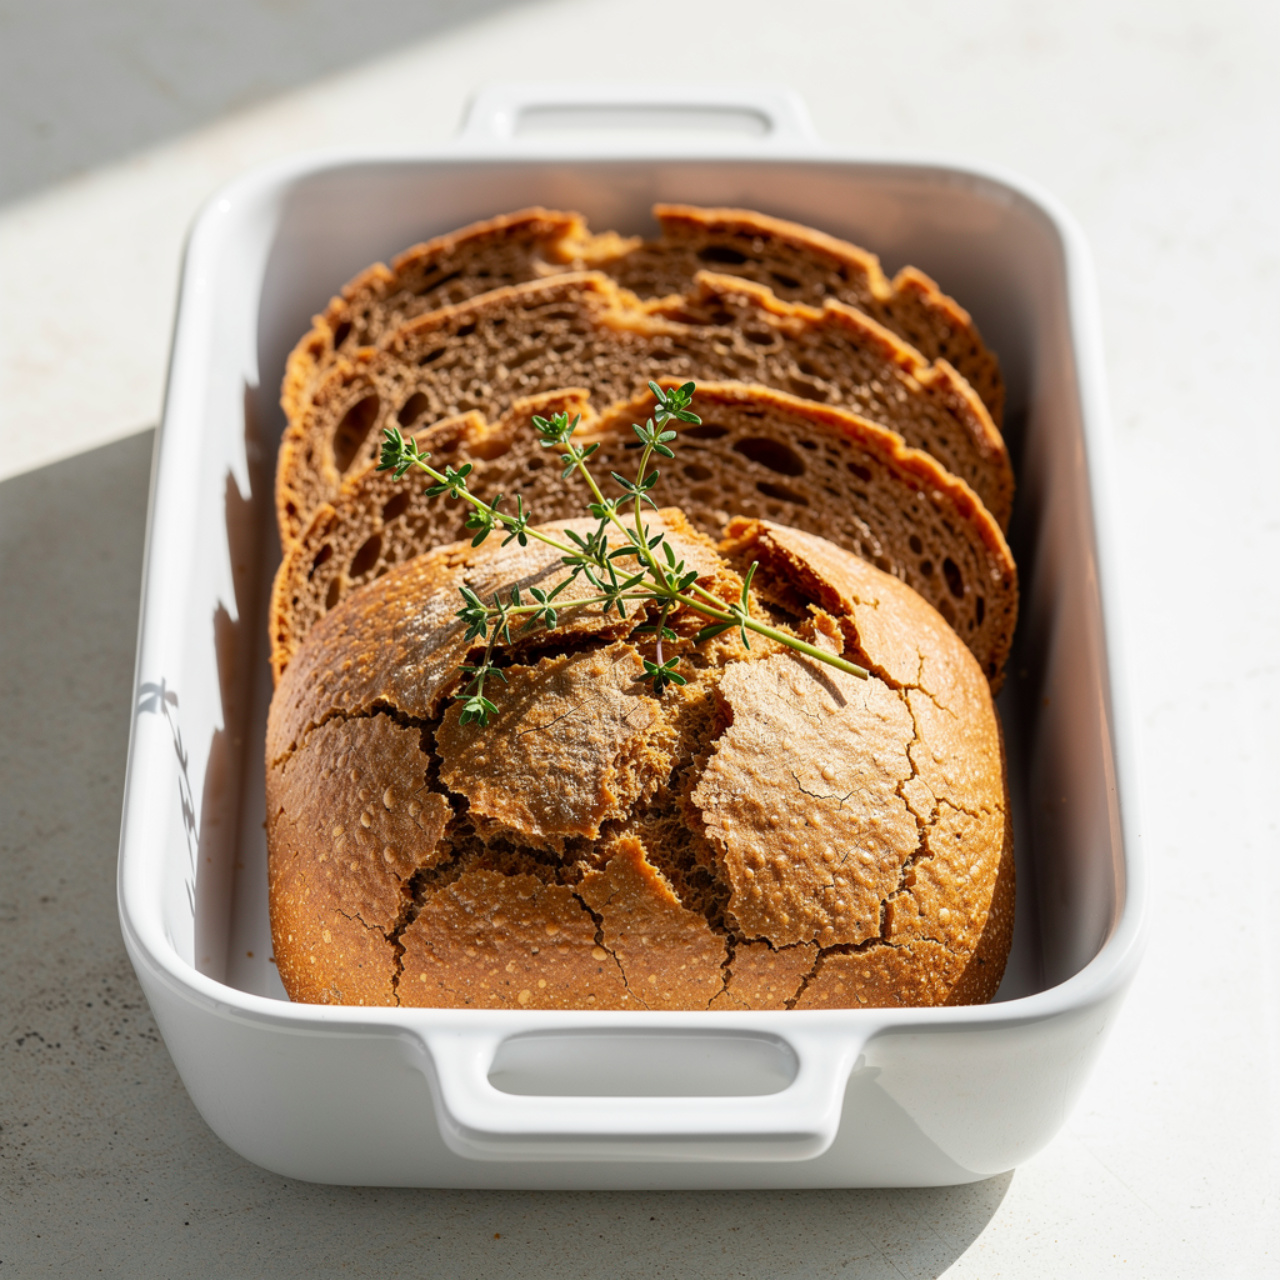
Sourdough Discard Bread (Easy Sandwich Loaf Recipe)
This easy sourdough discard bread bakes into a soft, tangy sandwich loaf with a golden crust — no starter maintenance required. The perfect beginner sourdough loaf recipe that uses up every bit of your discard.

The Best Thing You Can Do With Your Sourdough Discard
If you keep a sourdough starter, you already know the guilt that comes with every feeding. You discard a cup of bubbly, flour-and-water magic and wonder if there is something better to do with it than pour it down the drain. There absolutely is, and this easy sourdough discard sandwich bread is the answer.
This is not a complicated, days-long bread project. This is a soft, golden, genuinely delicious sourdough discard loaf that comes together in a single afternoon. It slices clean for sandwiches, toasts beautifully, and has just enough tang to remind you there is real flavor at work here. Whether you are a seasoned baker looking for a quick sourdough bread starter discard recipe, or a complete beginner trying your first sourdough discard sandwich loaf, this recipe was built for you.
Why This Recipe Works (Even for Beginners)
The secret to making this beginner sourdough loaf recipe so approachable is the combination of sourdough discard and active dry yeast. The discard brings the flavor, the yeast provides a reliable, predictable rise. You are not at the mercy of a finicky starter or precise fermentation windows. The dough rises on a normal timeline, and you get a loaf with the complex, slightly sour flavor of sourdough without the stress.
The result is exactly what a great sourdough discard sandwich bread recipe should be: tender crumb, a golden crust, real flavor, and zero waste.
Chef's Tip: Room temperature discard works best here. Cold discard straight from the fridge can slow the yeast activation and make the dough feel stiffer than it should. Pull your discard out about an hour before you plan to bake.
A Few Tools That Make a Real Difference
For this sourdough discard bread quick enough for a weekday afternoon, having the right equipment genuinely matters. A reliable 9x5 inch loaf pan gives you that classic sandwich shape, and an instant-read thermometer takes all the guesswork out of knowing when the loaf is perfectly baked through.
How to Get the Most Flavor From Your Discard
Not all discard is equal. Here is what to know before you start:
- Fresh discard (1 to 3 days old): Mild, lightly tangy flavor. Great for a crowd-pleasing everyday loaf.
- Older discard (up to 2 weeks): More pronounced sour notes and a deeper flavor. Perfect if you love a more assertive tang in your easy sourdough sandwich bread recipe.
- What to avoid: Discard with any pink or orange streaks, or that smells truly unpleasant rather than pleasantly sour. When in doubt, toss it.
For flour, all-purpose works beautifully and keeps the crumb soft. If you prefer a chewier, slightly denser loaf with more structure, bread flour is an excellent swap. Both are traditional choices for a sourdough discard sandwich loaf.
The Two Rises: What to Expect
This dough goes through two rises, and both matter.
The first rise builds structure and flavor. Give it a full 60 to 90 minutes in a warm spot. If your kitchen is cool, pop the covered bowl in the oven with just the light on. The dough should double in size and feel airy when you press it.
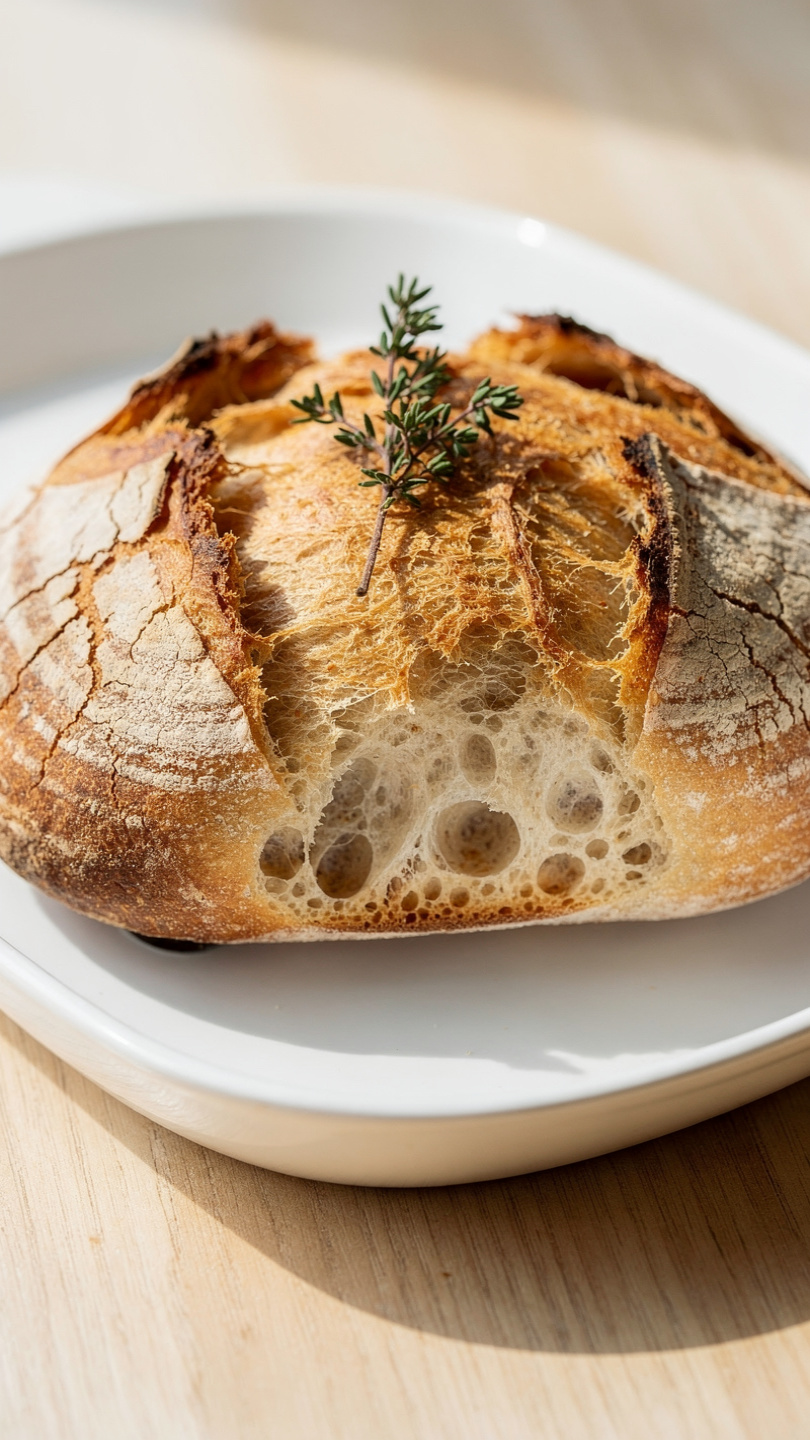
The second rise happens after shaping, directly in the loaf pan. This is where you get that beautiful crown above the pan rim. Do not rush it. A properly proofed loaf will dome evenly and bake with a soft, open crumb.
Baker's Note: Press a floured finger gently into the dough during the second rise. If the indent springs back slowly and partially, it is ready to bake. If it springs back instantly, give it more time. If it does not spring back at all, it is slightly over-proofed but will still taste great.
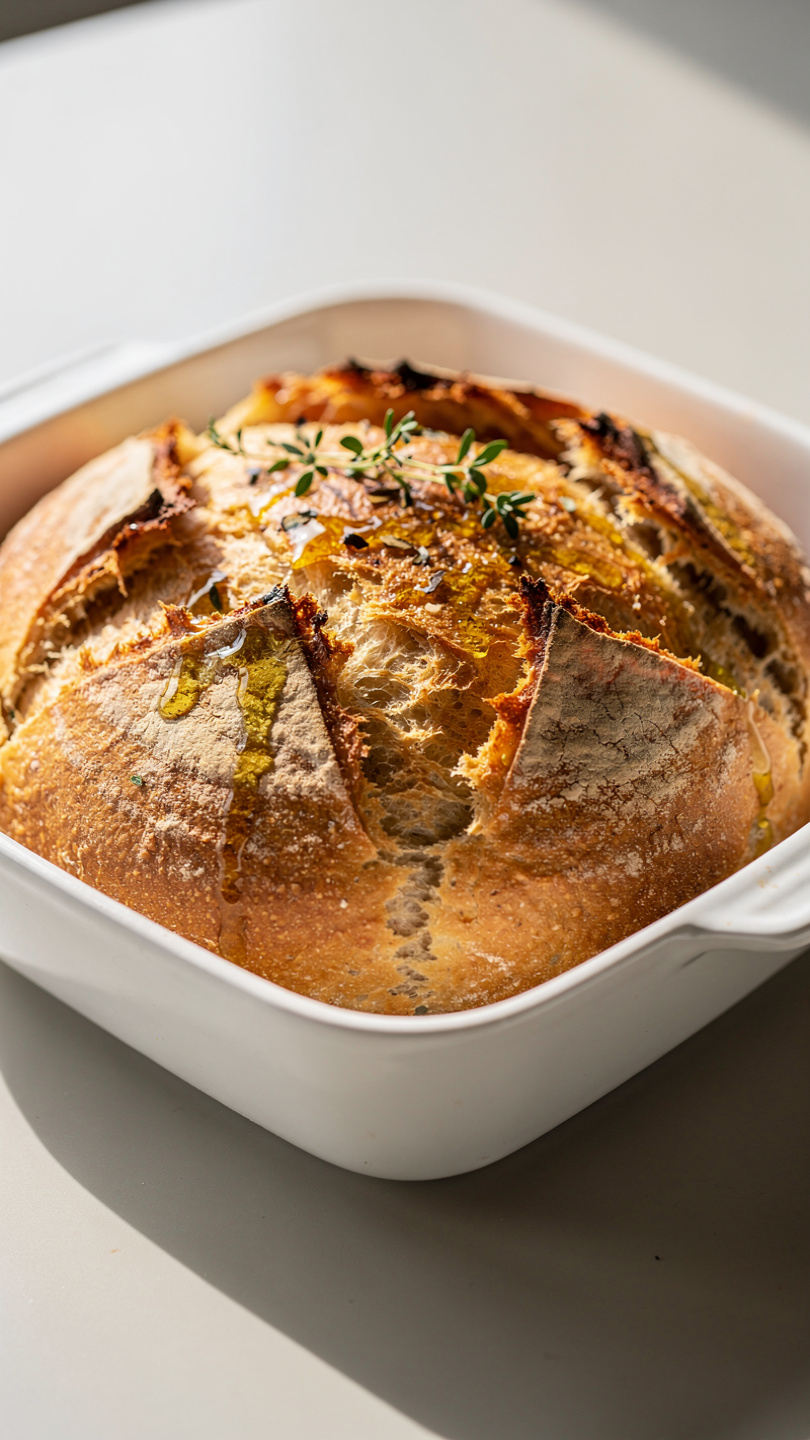
Serving This Sourdough Discard Sandwich Bread
Once the loaf is cool (resist the urge to cut into a hot loaf, it will compress the crumb), the possibilities are genuinely endless:
- Classic sandwiches: The tight, even crumb holds up to stacked fillings without falling apart.
- Toast: Thick-sliced with salted butter and flaky sea salt, it is hard to beat.
- Grilled cheese: The slight tang of the sourdough is a perfect match for sharp cheddar or gruyere.
- Avocado toast: Use this easy sourdough discard sandwich bread and you will never go back to store-bought.
Ready to bake your new favorite loaf? Here is the full step-by-step recipe:
Sourdough Discard Bread (Easy Sandwich Loaf Recipe)
This easy sourdough discard bread bakes into a soft, tangy sandwich loaf with a golden crust — no starter maintenance required. The perfect beginner sourdough loaf recipe that uses up every bit of your discard.
Ingredients
- 1 cup sourdough discard, unfed, at room temperature
- 1/2 cup warm water, about 110 degrees F
- 2 1/4 tsp active dry yeast, one standard packet
- 1 tbsp granulated sugar, to activate the yeast
- 3 cups all-purpose flour, plus more for dusting; bread flour also works
- 1 1/2 tsp fine sea salt
- 2 tbsp unsalted butter, softened to room temperature
- 1 tbsp neutral oil or melted butter, for brushing the top of the loaf
Instruction
In a small bowl, combine the warm water, sugar, and active dry yeast. Stir gently and let sit for 5 to 10 minutes until foamy and fragrant. If the mixture does not foam, your yeast may be expired — start fresh before continuing.
In the bowl of a stand mixer fitted with the dough hook (or a large mixing bowl if kneading by hand), combine the sourdough discard, activated yeast mixture, flour, and salt. Mix on low speed for 2 minutes until a shaggy dough forms.
Add the softened butter one tablespoon at a time and increase the mixer speed to medium. Knead for 8 to 10 minutes until the dough is smooth, elastic, and slightly tacky but no longer sticky. If kneading by hand, turn the dough onto a lightly floured surface and knead for 12 to 14 minutes.
Shape the dough into a ball and place it in a lightly oiled bowl, turning once to coat. Cover with plastic wrap or a damp kitchen towel and let rise in a warm spot for 1 to 1.5 hours, or until doubled in size.
Punch down the risen dough and turn it out onto a lightly floured surface. Flatten it gently into a rough rectangle about the width of your 9x5 inch loaf pan. Roll it up tightly into a log, pinch the seam closed, and tuck the ends under.
Place the shaped loaf seam-side down into a greased 9x5 inch loaf pan. Cover loosely and let rise again for 45 minutes to 1 hour, until the dough crowns about one inch above the rim of the pan.
About 20 minutes before baking, preheat your oven to 375 degrees F (190 degrees C).
Bake the loaf for 35 to 45 minutes, until deep golden brown on top. The internal temperature should read 190 to 200 degrees F on an instant-read thermometer. Tent loosely with foil during the last 10 minutes if the top is browning too quickly.
Remove from the oven and immediately brush the top with melted butter or neutral oil for a soft, glossy crust. Let the loaf cool in the pan for 10 minutes, then transfer to a wire rack to cool completely before slicing — at least 30 minutes.
Equipment
- Stand mixer with dough hook (or large mixing bowl for hand kneading)
- 9x5 inch loaf pan
- Instant-read thermometer
- Plastic wrap or damp kitchen towel
- Wire cooling rack
- Pastry brush
Notes
Storing, Freezing, and Make-Ahead Tips
This bread stores remarkably well. Wrap the cooled loaf tightly in plastic wrap and keep it at room temperature for up to 3 days. For longer storage, the refrigerator will keep it fresh for up to 5 days, though the crust will soften.
For freezing, slice the entire loaf before it goes into the freezer. Layer the slices in a freezer bag and pull out exactly what you need, whenever you need it. Frozen slices toast directly from frozen in about 2 minutes and taste just as good as fresh.
If you want to plan ahead, you can also refrigerate the shaped, unbaked loaf overnight after the first rise. The next morning, let it sit at room temperature for about an hour to complete the second rise, then bake as directed. This slow, cold proof actually develops even more flavor, making it one of the best variations of this sourdough bread starter discard recipe.
Frequently Asked Questions
Can I make this without a stand mixer?
Yes, entirely by hand. Knead the dough on a floured surface for 12 to 14 minutes until it is smooth and elastic. It takes a bit of effort but is completely doable.
What if I do not have enough discard?
You can scale down slightly or supplement with a neutral-flavored yogurt to make up the volume. The flavor will be slightly different, but the loaf will still bake up well.
Is this the same as a fully fermented sourdough loaf?
Not quite. A traditional sourdough loaf relies entirely on wild yeast from the starter and ferments for many hours or even days. This sourdough discard bread quick recipe uses commercial yeast for the rise, so the timeline is much shorter. The flavor is noticeably tangy and complex, but lighter than a long-fermented loaf. It is the perfect middle ground for everyday baking.