Whole Wheat Sourdough Bread
This whole wheat sourdough bread recipe delivers a deeply flavored, chewy loaf with a crackling crust, perfect for beginners and seasoned bakers alike. Made with an overnight starter, it fits easily into your weekly or daily baking rhythm.

The Overnight Sourdough Loaf That Actually Fits Your Life
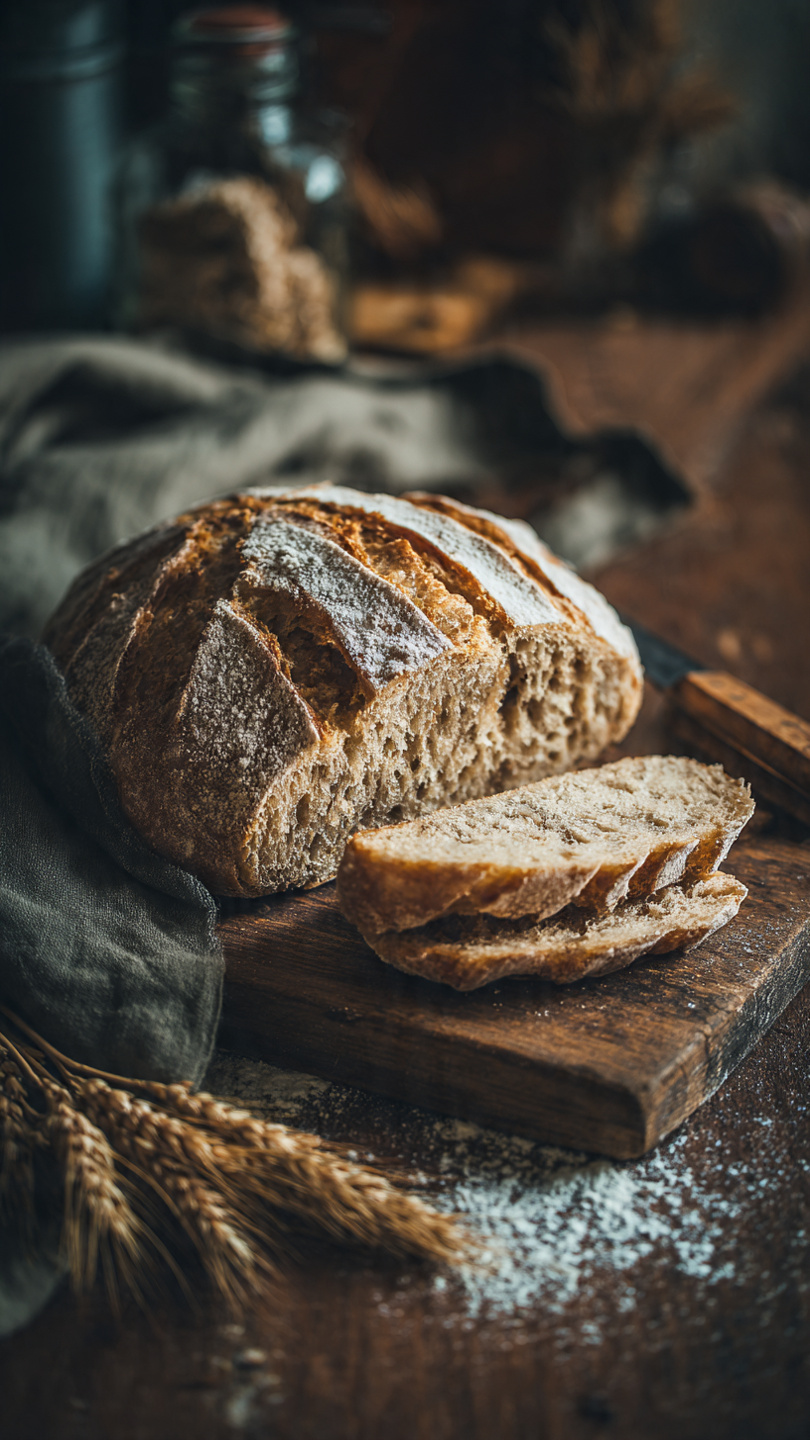
There is something almost magical about pulling a deeply bronzed, crackling loaf of whole wheat sourdough bread from a hot Dutch oven on a weekend morning. The smell alone is worth the process. But if you have ever looked at sourdough recipes and felt overwhelmed by the timing, the folds, the temperature charts, this recipe is here to change that.
This is an easy overnight sourdough bread that works with your schedule, not against it. You mix it in the evening, let the refrigerator do the heavy lifting while you sleep, and bake it in the morning. It is the backbone of how to bake sourdough bread daily or weekly without burning yourself out.
Why Whole Wheat Makes a Better Loaf
Whole wheat flour brings something bread flour alone simply cannot. It adds a nutty, earthy depth of flavor, a slightly denser crumb that holds up to thick slices of butter or avocado, and a nutritional profile that makes this bread genuinely worth eating every day. The bran in whole wheat also feeds your starter beautifully during the long cold ferment.
The key is balance. This recipe uses a blend of whole wheat and bread flour, which gives you the flavor and fiber of whole grain alongside enough gluten structure to produce a loaf that rises confidently and slices cleanly.
Baker's Note: Stone-ground whole wheat flour, rather than commercially processed, will give you a more complex flavor. Look for it at natural food stores or order it online. The difference in a side-by-side taste test is noticeable.
Getting Your Starter Ready
The most important step in any overnight sourdough bread recipe with a starter is making sure your starter is at peak activity when you mix the dough. Feed your starter 4 to 8 hours before mixing. It should be bubbly, have roughly doubled in size, and pass the float test: drop a small spoonful into water. If it floats, it is ready.
A sluggish starter produces a flat, dense loaf no matter how well you shape or score it. When in doubt, give it one more feeding.
Having the right tools genuinely changes the outcome here. A Dutch oven creates the steam environment that produces that signature crackling crust, and a good bench scraper makes shaping feel effortless. These are the kitchen tools that make this beginner overnight sourdough bread recipe actually beginner-friendly:
The Overnight Cold Ferment: Where the Flavor Lives
After your stretch and folds are complete, this dough goes into the refrigerator for 10 to 14 hours. This is the heart of the easy overnight sourdough method. The cold temperature slows fermentation dramatically, giving the wild yeast time to produce complex organic acids that create that signature sour, tangy flavor you cannot get from a same-day loaf.
When you pull the dough out in the morning, it should look visibly puffed and feel airy when you gently press it. Do not punch it down. Treat it gently from this point forward.
Timing Tip: If you mix the dough at 9 pm, you can bake by 9 to 11 the next morning. This is exactly why this method is so popular for baking sourdough bread weekly without stress.
Shaping, Scoring, and the Bake
Shaping whole wheat sourdough takes practice, but the principle is simple: build surface tension so the dough holds its form in the oven. A tight, round boule or an oval batard both work well with this recipe.
Scoring is your chance to control how the bread opens up in the oven. A single deep slash at a slight angle is the most reliable and beautiful result for beginners. Use a sharp lame or the tip of a well-sharpened serrated knife and commit to the cut.
Baking covered in the Dutch oven for the first 20 minutes traps steam from the dough itself, which keeps the crust soft long enough for maximum oven spring. Removing the lid for the final bake creates that deep mahogany crust you see on bakery loaves.
Ready to bake your own loaf? Here is everything you need:
Whole Wheat Sourdough Bread
This whole wheat sourdough bread recipe delivers a deeply flavored, chewy loaf with a crackling crust, perfect for beginners and seasoned bakers alike. Made with an overnight starter, it fits easily into your weekly or daily baking rhythm.
Ingredients
- 2 cups whole wheat flour, stone-ground preferred
- 1 cup bread flour, plus more for dusting
- 1/2 cup active sourdough starter, fed and bubbly, at peak activity
- 1 1/4 cups lukewarm water, around 80 degrees F
- 1 1/2 tsp fine sea salt
- 1 tbsp honey, optional, adds subtle sweetness and helps browning
Instruction
In a large mixing bowl, combine the active sourdough starter and lukewarm water. Stir until the starter is fully dissolved and the water looks milky.
Add the whole wheat flour and bread flour to the bowl. Mix with your hands or a dough whisk until no dry flour remains. Cover and let rest for 30 minutes. This is the autolyse stage and it is important for gluten development.
Sprinkle the salt evenly over the dough and drizzle in the honey if using. Use your fingers to pinch and fold the salt into the dough until fully incorporated.
Perform 4 sets of stretch and folds over the next 2 hours, spacing each set about 30 minutes apart. To do a set, grab one side of the dough, stretch it upward, and fold it over the center. Rotate the bowl and repeat on all four sides.
After the final fold, cover the bowl tightly and transfer it to the refrigerator for an overnight cold ferment of 10 to 14 hours. This is your overnight sourdough rest and it develops deep flavor.
The next morning, remove the dough from the refrigerator. It should have risen noticeably and look airy. Lightly flour your work surface and gently turn the dough out.
Shape the dough into a tight round or oval loaf by folding the edges toward the center, then flipping it seam-side down. Use your hands to drag the loaf gently across the surface to build surface tension.
Place the shaped loaf seam-side up into a floured banneton or a bowl lined with a well-floured kitchen towel. Cover loosely and let proof at room temperature for 1 to 2 hours while you preheat the oven.
Place a Dutch oven with its lid into the oven and preheat to 500 degrees F (260 degrees C) for at least 45 minutes.
Carefully remove the hot Dutch oven. Turn the dough out onto a piece of parchment paper and score the top with a sharp lame or serrated knife using a swift, confident slash.
Lower the dough by the parchment into the Dutch oven. Place the lid on and bake for 20 minutes. Then remove the lid and reduce the oven temperature to 450 degrees F (230 degrees C). Bake for another 20 to 25 minutes until the crust is deep brown.
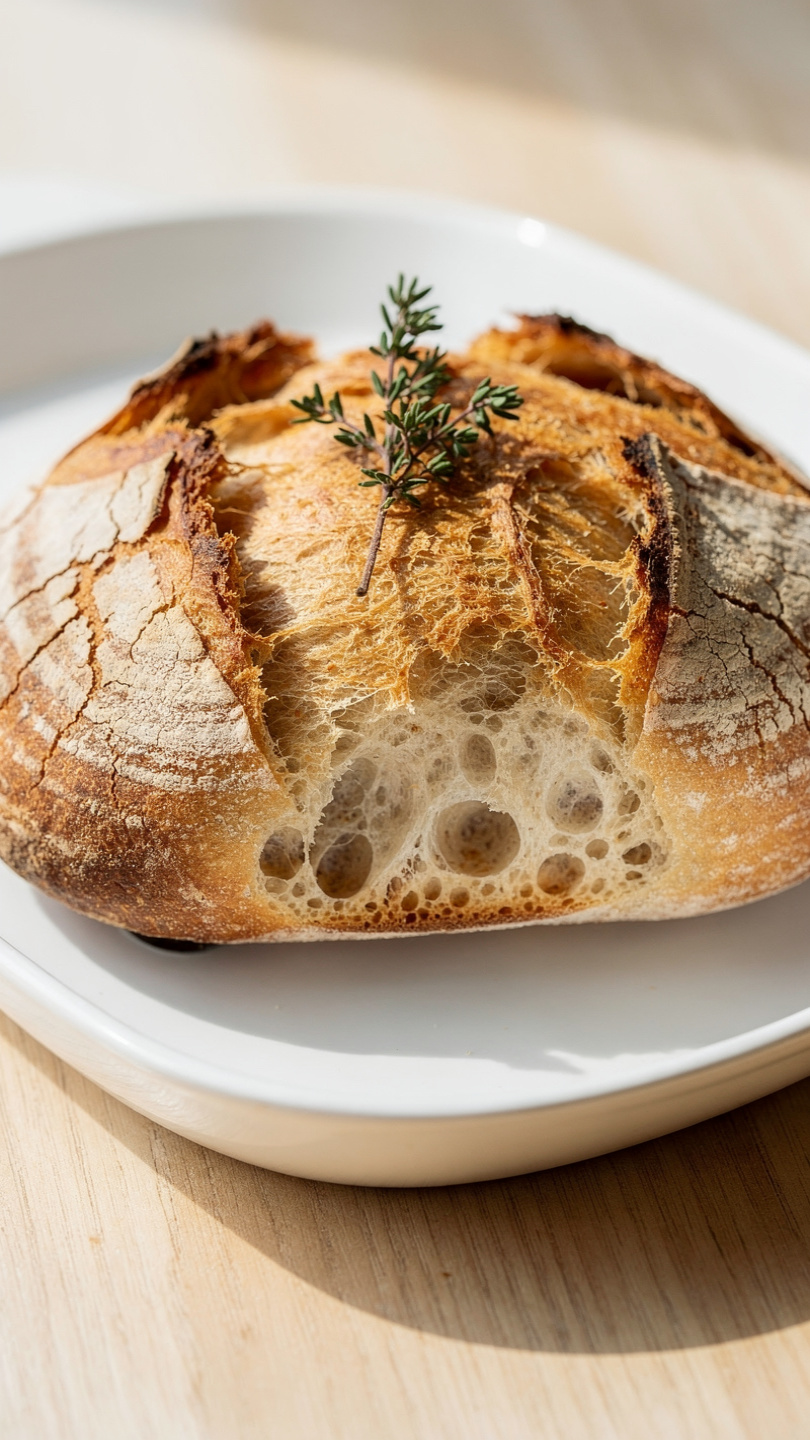
Transfer the loaf to a wire cooling rack and let it cool for at least 1 hour before slicing. Cutting too early releases steam and makes the crumb gummy.
Equipment
- Large mixing bowl
- Dough whisk or wooden spoon
- Dutch oven (5 to 6 quart)
- Banneton proofing basket or bowl with kitchen towel
- Bench scraper
- Bread lame or sharp serrated knife
- Parchment paper
- Wire cooling rack
- Kitchen scale (recommended)
Notes
Serving, Storing, and Variations
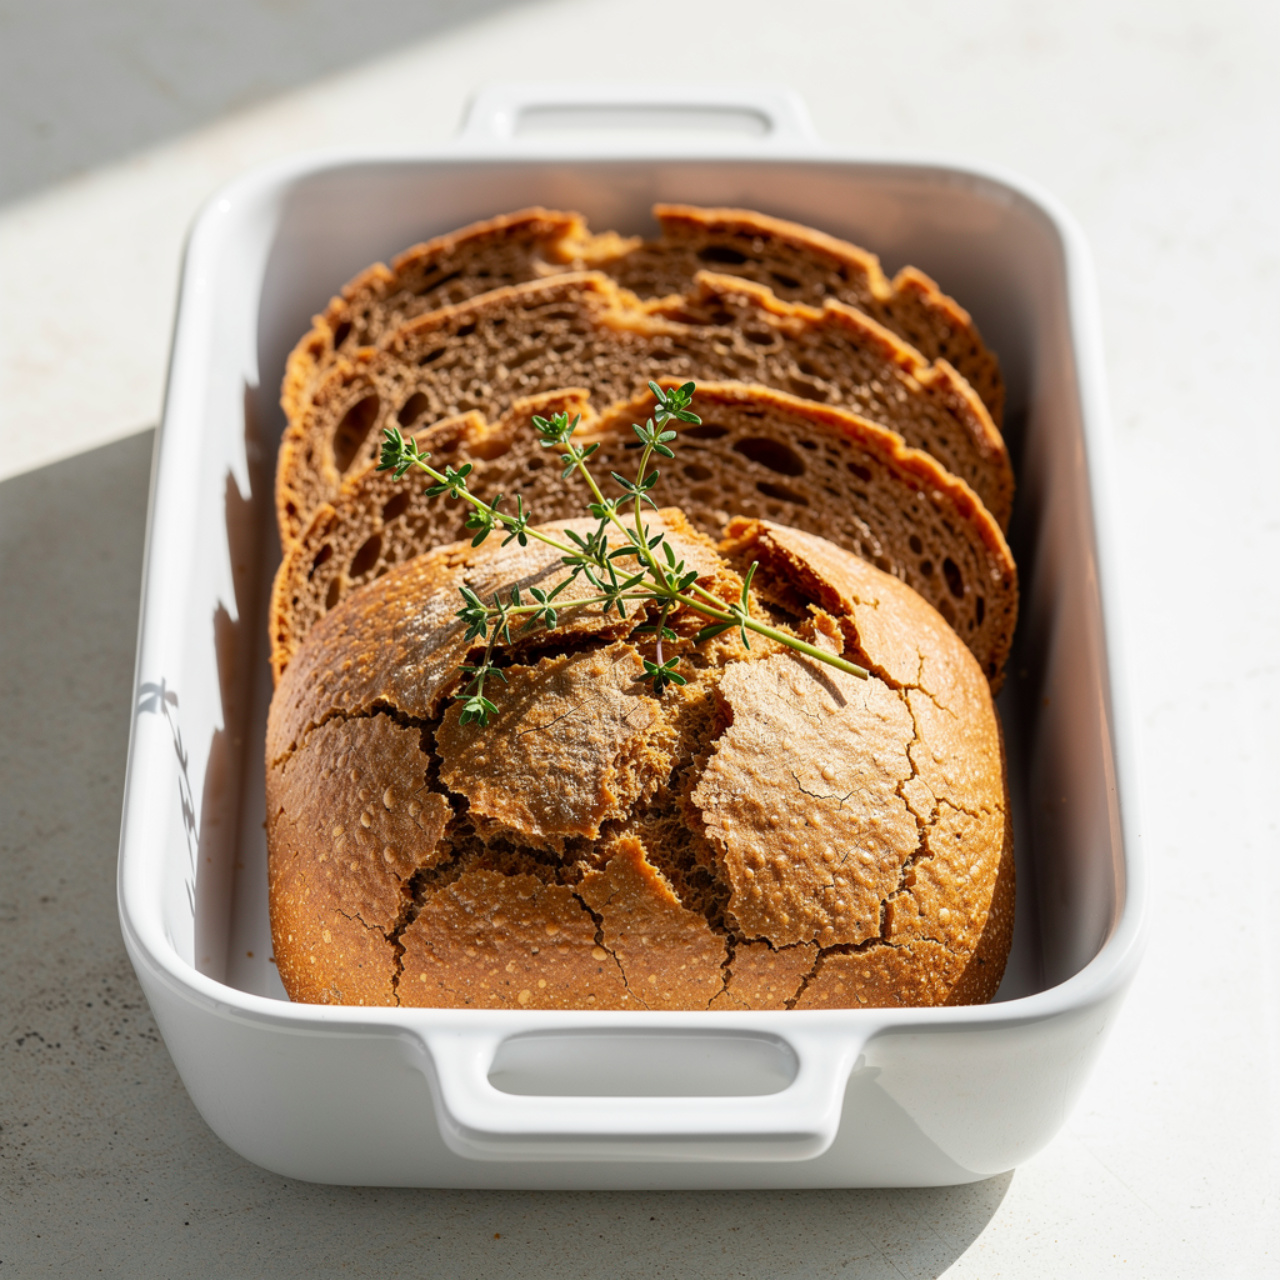
This bread is at its absolute best within the first 12 hours, when the crust is still crisp and the crumb is moist. Slice it thick and serve with cultured butter, good olive oil, or a smear of labneh and honey.
For storage, keep it cut-side down on a wooden board. A bread box works well. Avoid plastic wrap for the first day or two as it softens the crust quickly.
Once you have made this recipe a few times, try adding 2 tablespoons of flax seeds or sunflower seeds to the dough during the salt incorporation step. They fold in easily and add a lovely texture and nuttiness to every slice.